the renovations
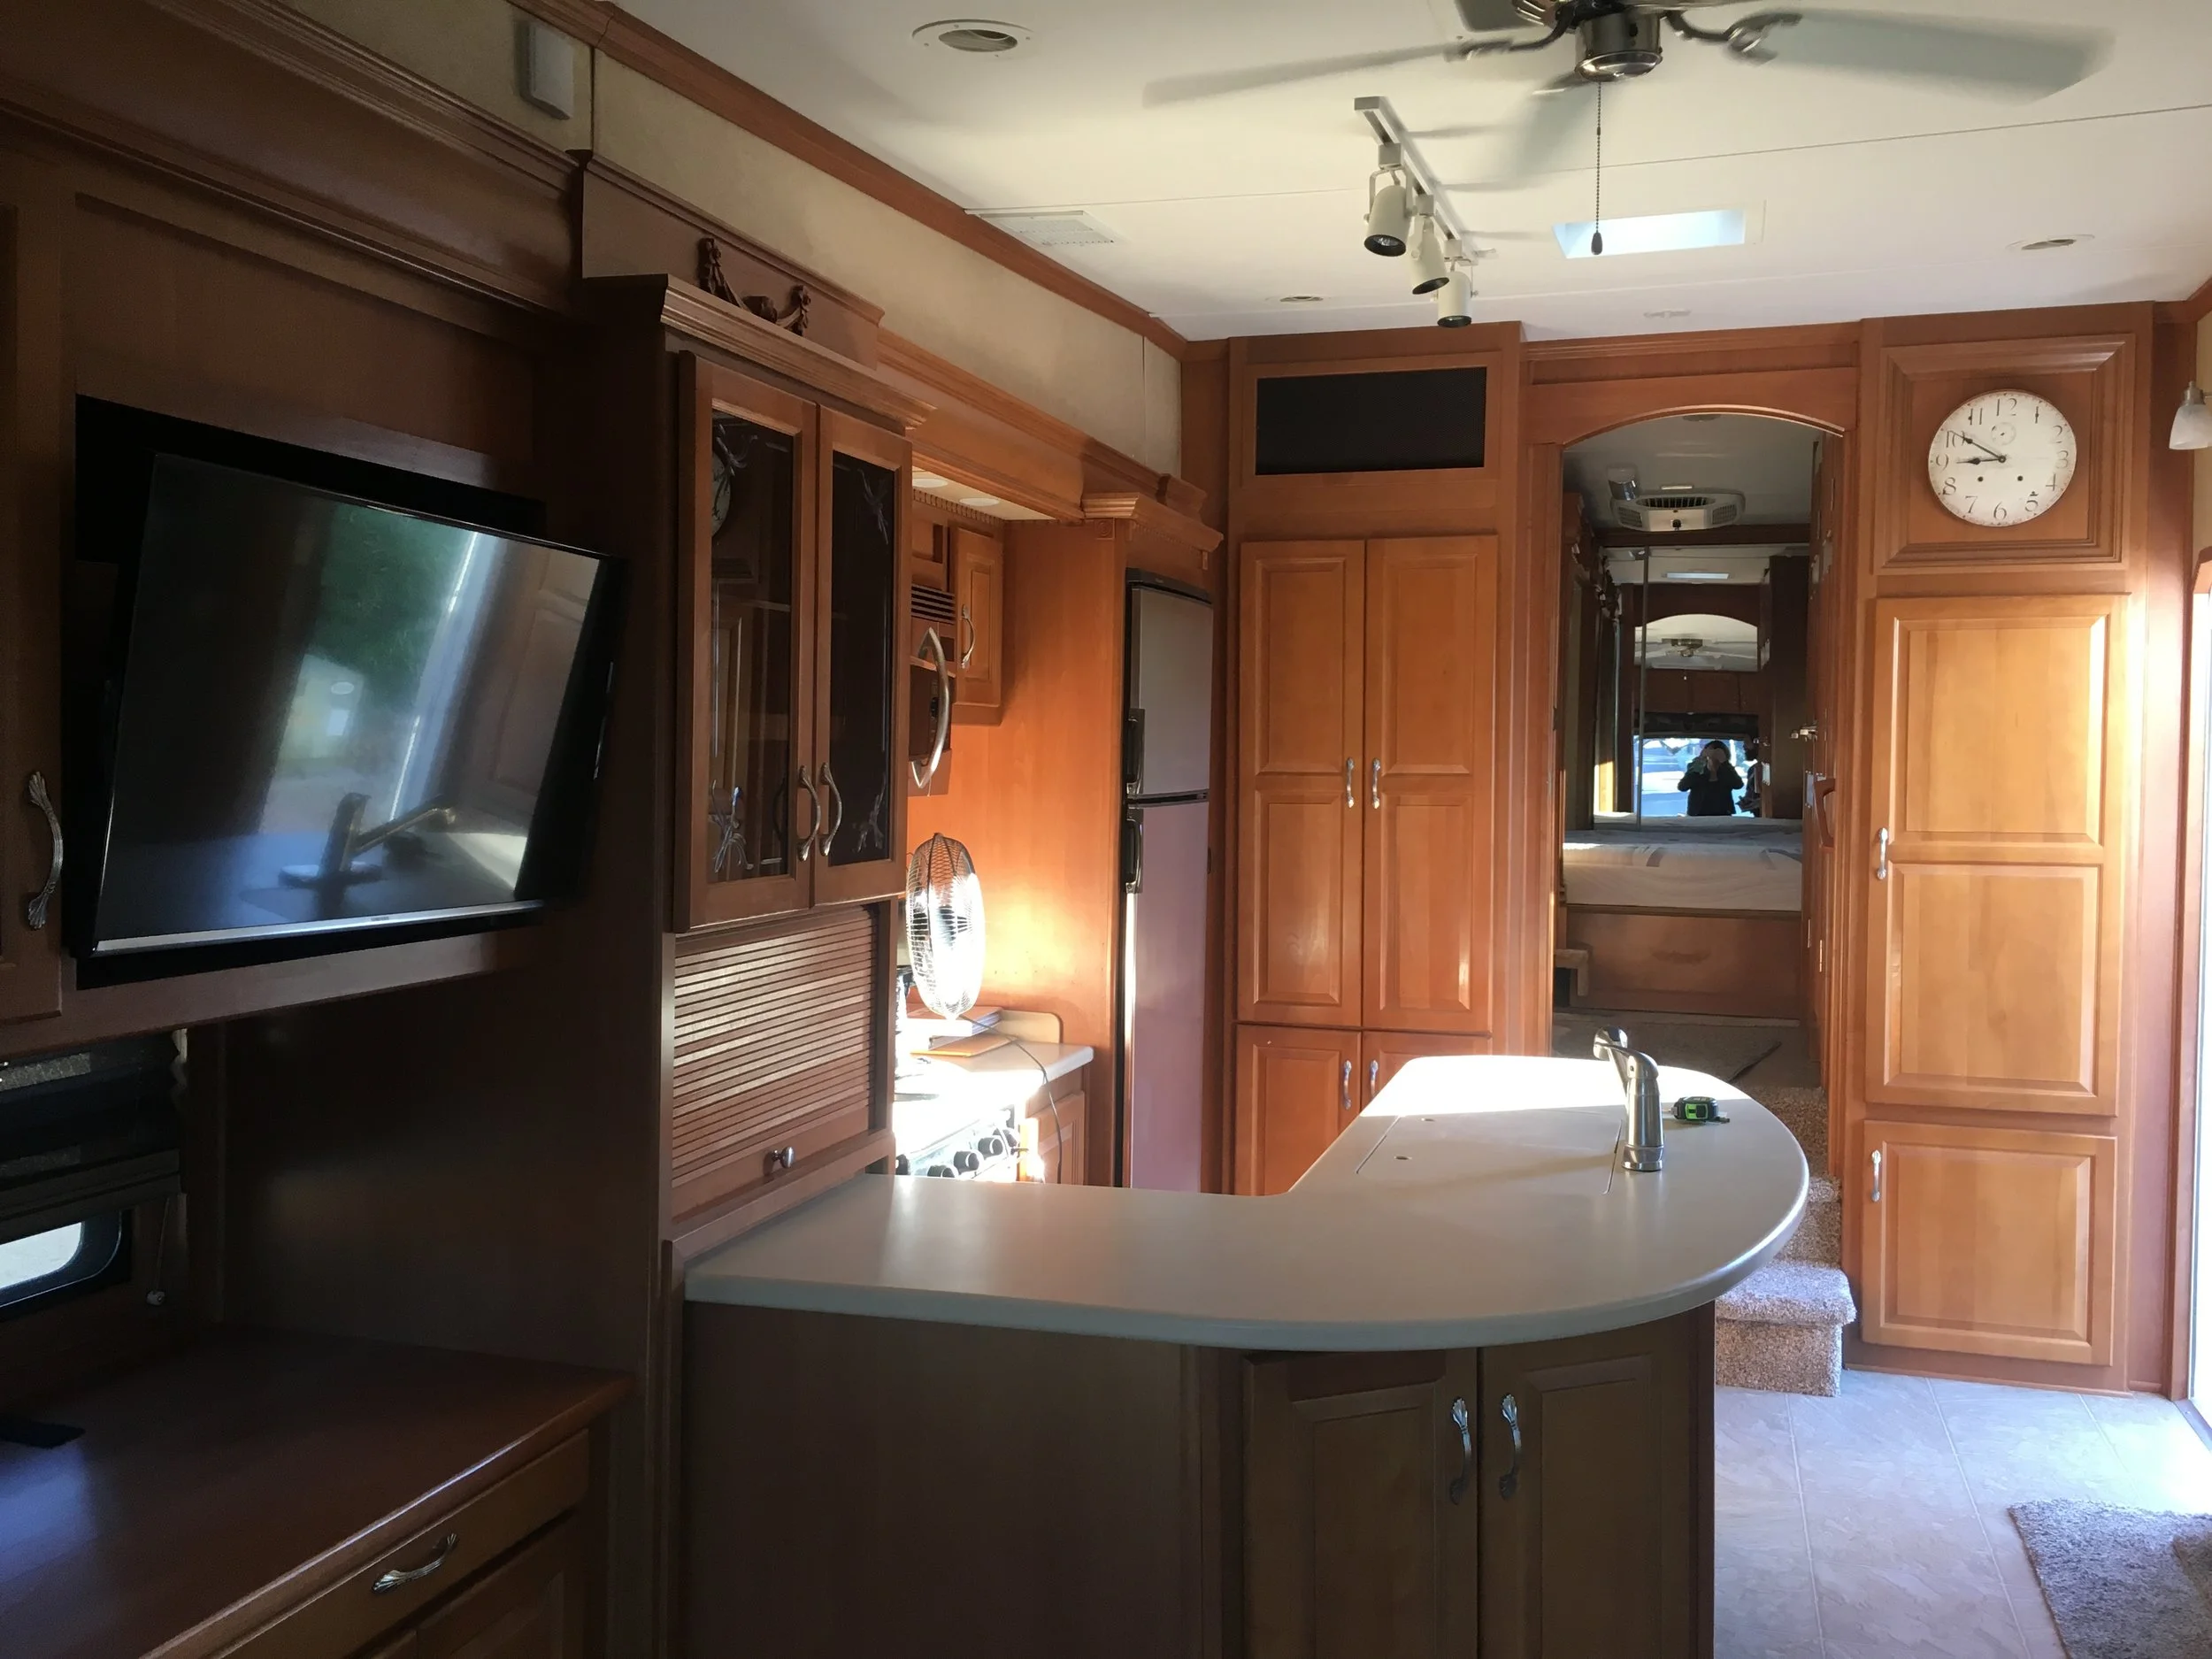
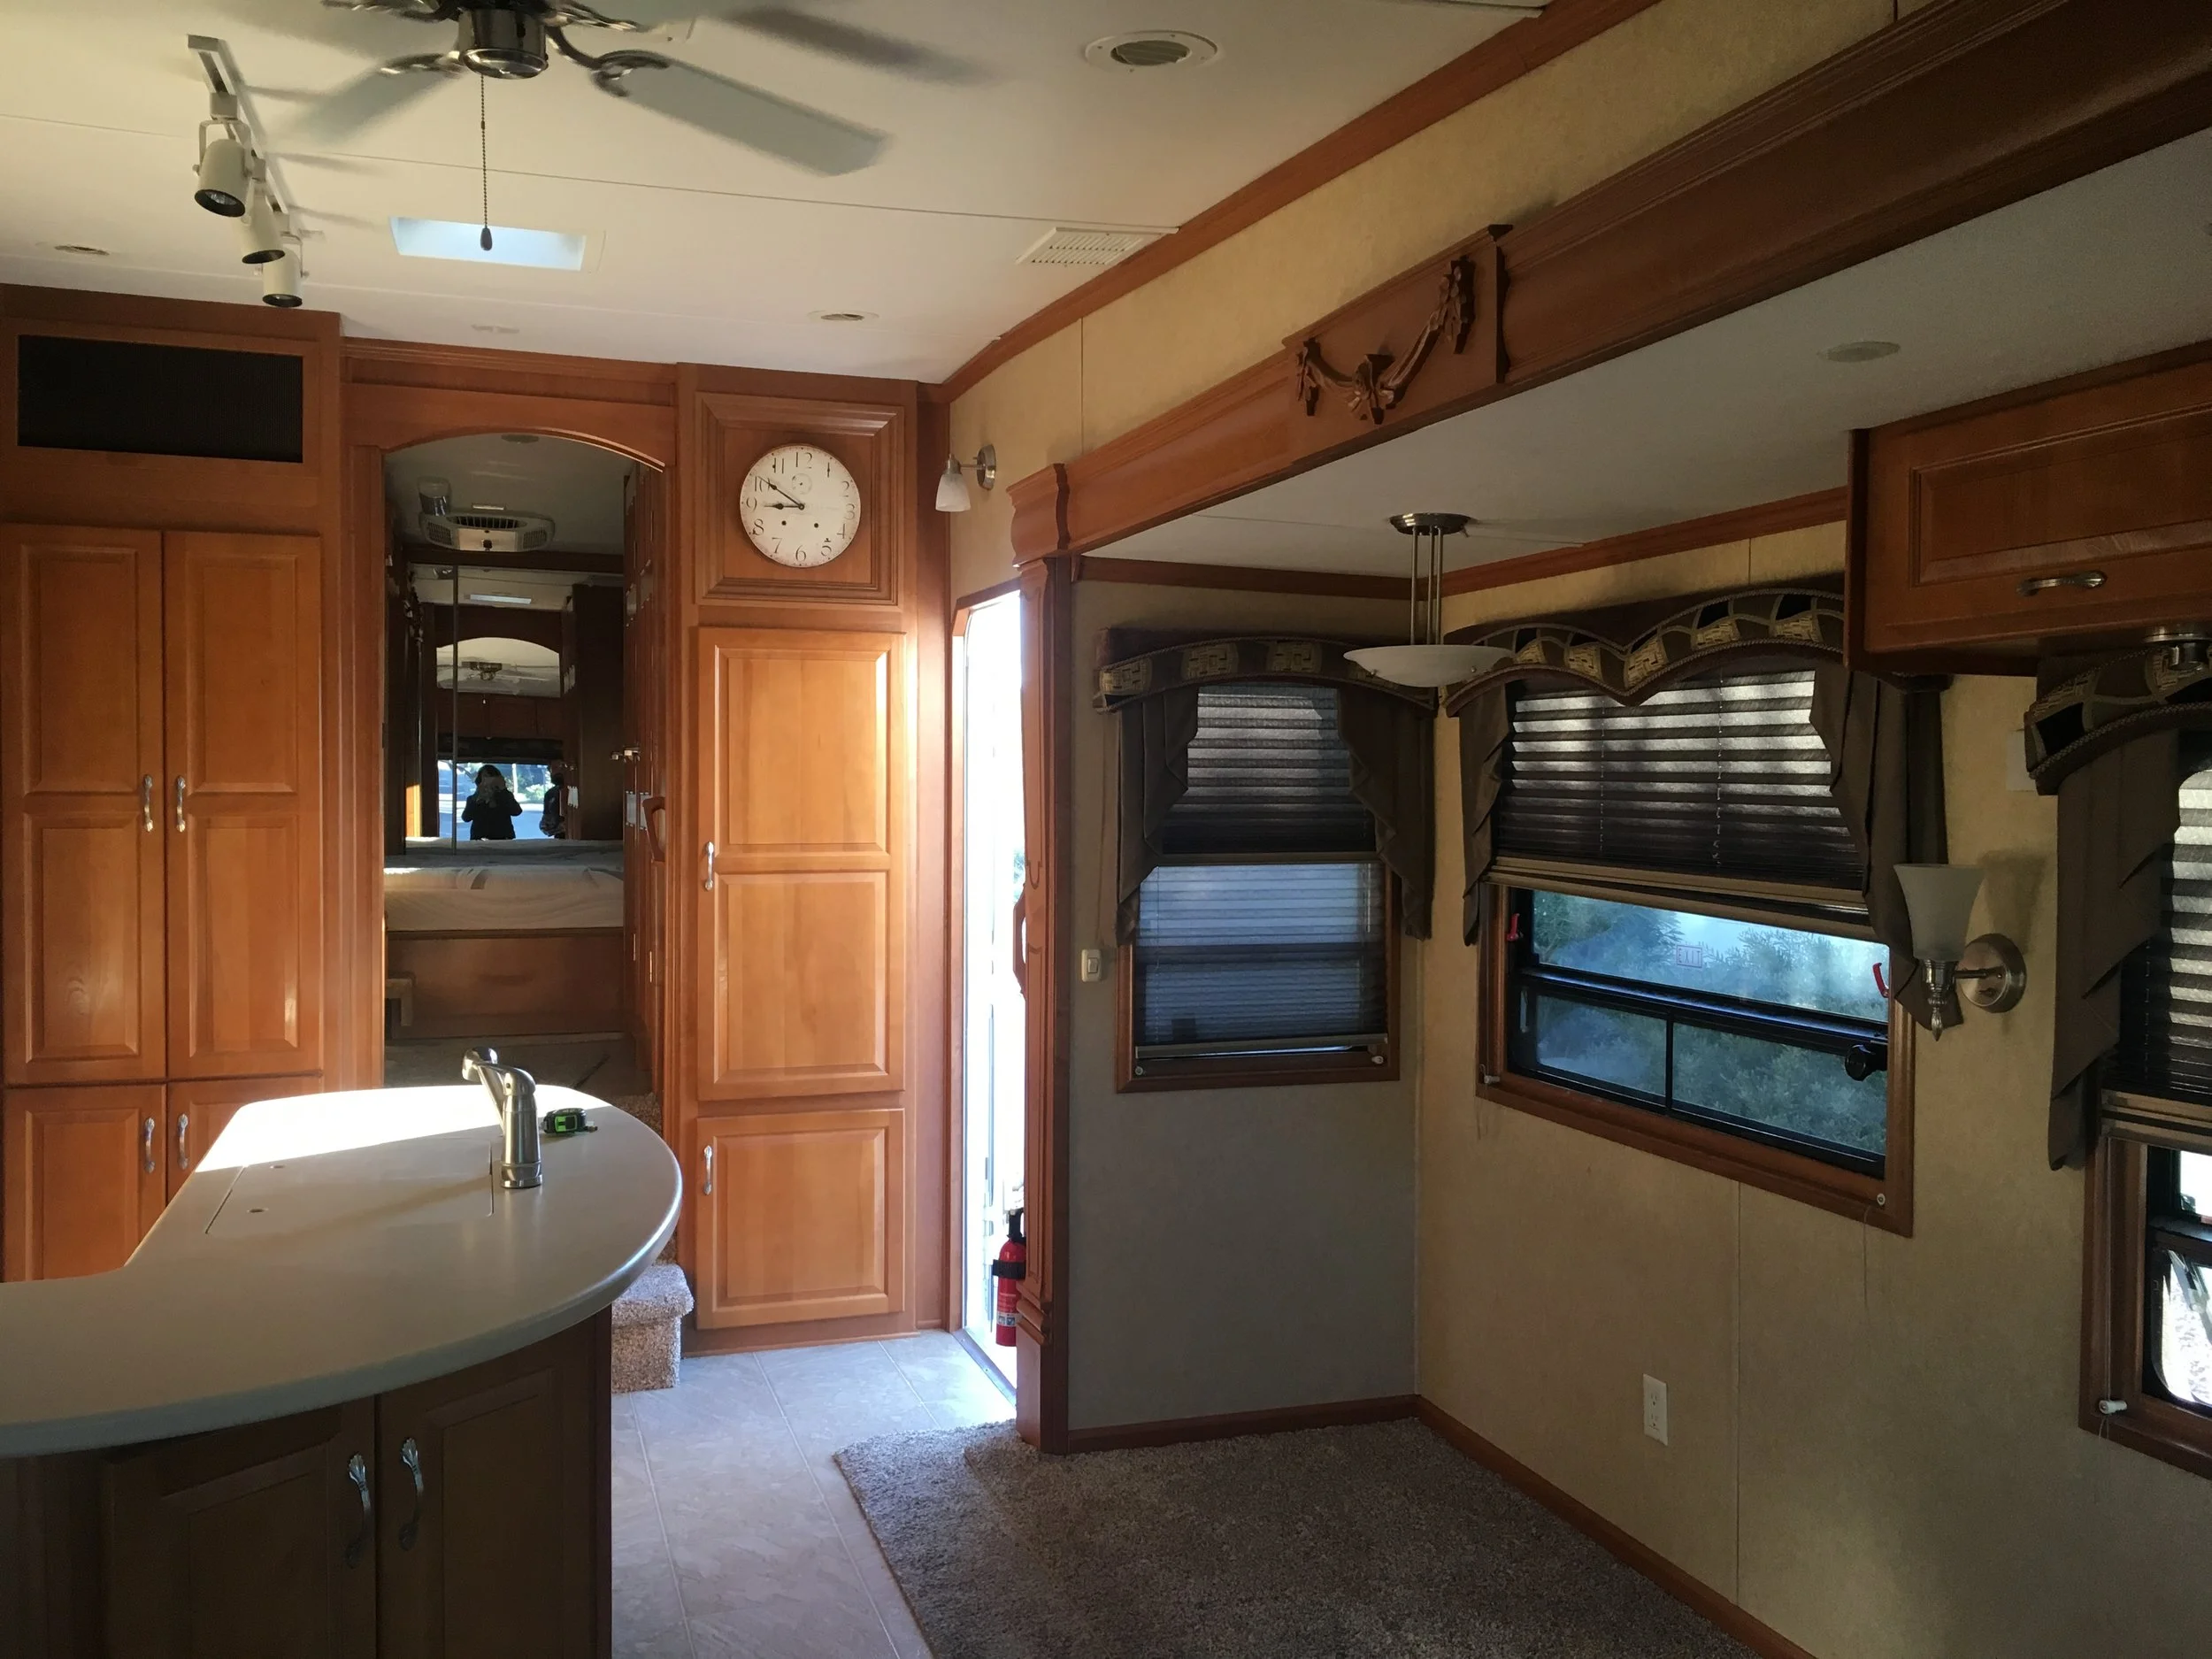
Before even picking up the trailer (christened as Free Real Estate), we knew we wanted to put in some work into renovations. Not surprising, considering RVs aren't exactly marketed to people in their thirties or younger, and as a result they look like homes built in the late 90s. What baffles me the most is how dark RVs are on the inside; you'd think you'd want to open up the few square feet you have with a splash of white here or there, but I've been wrong before. I suspect this will change in the next couple of decades as mobile living becomes more accessible (and favorable) over a normal home. At least, I hope this changes, because these renovations were a total bitch.
Here's basically everything that went into our renovations:
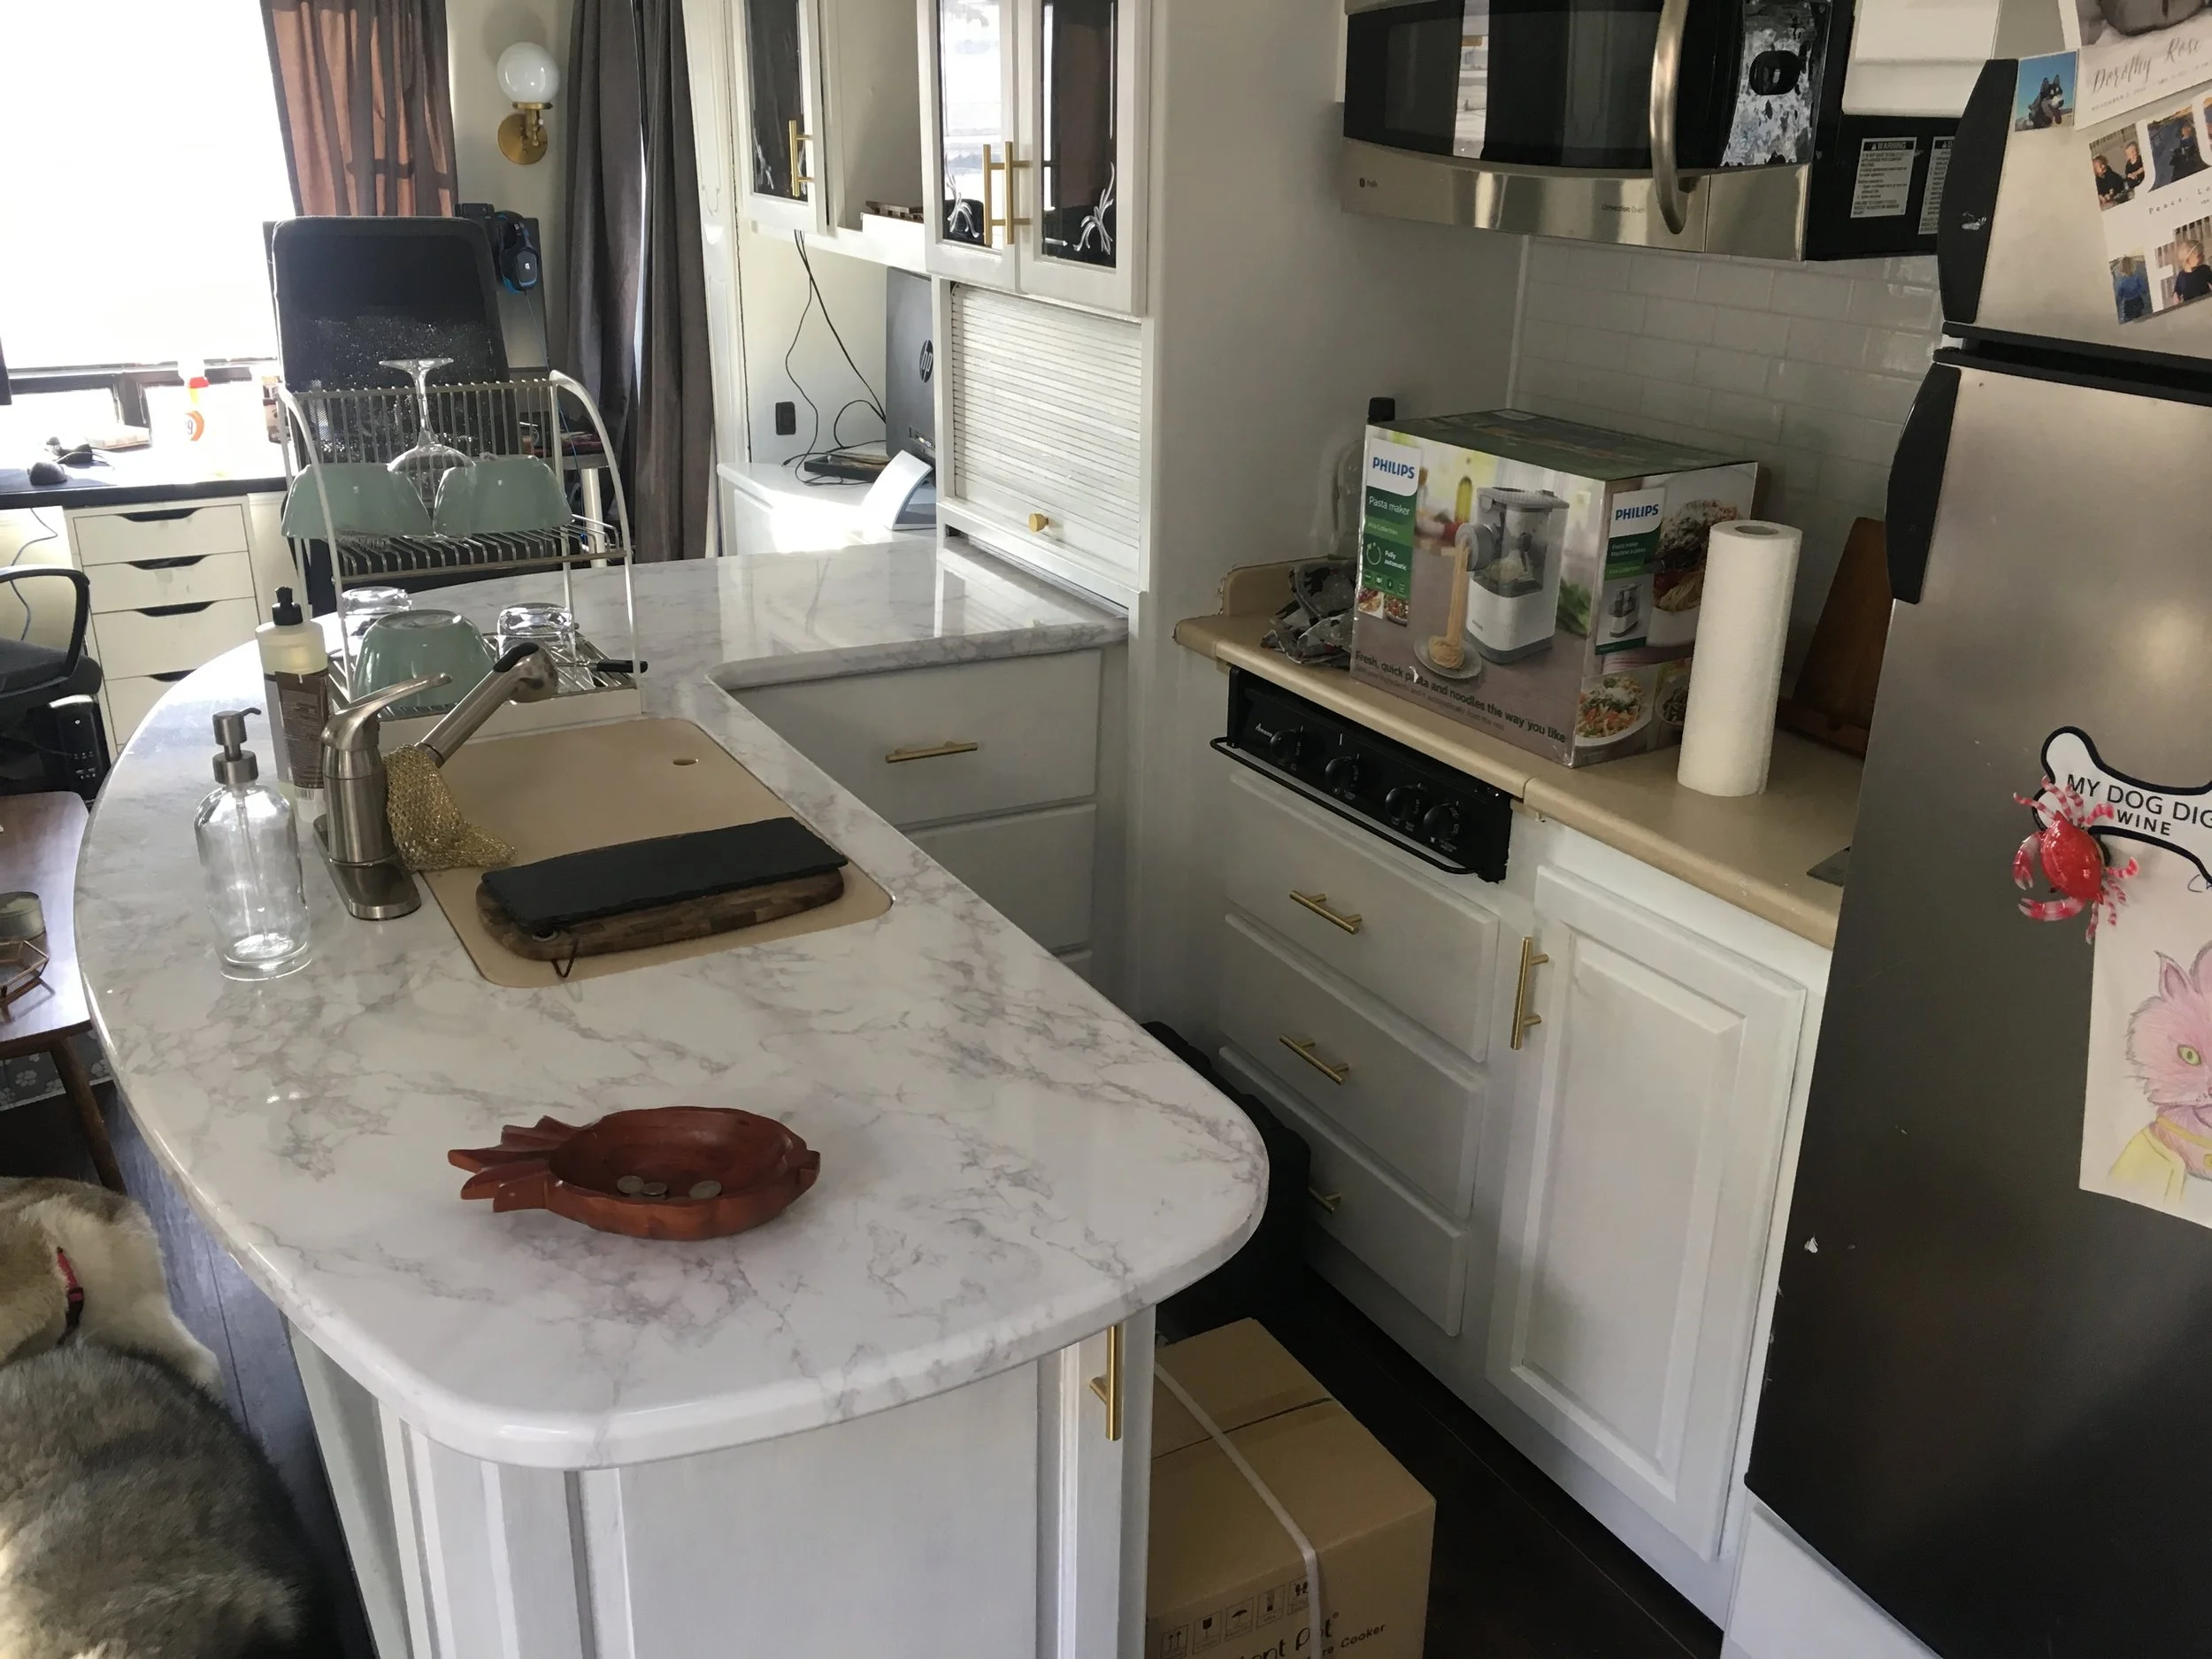
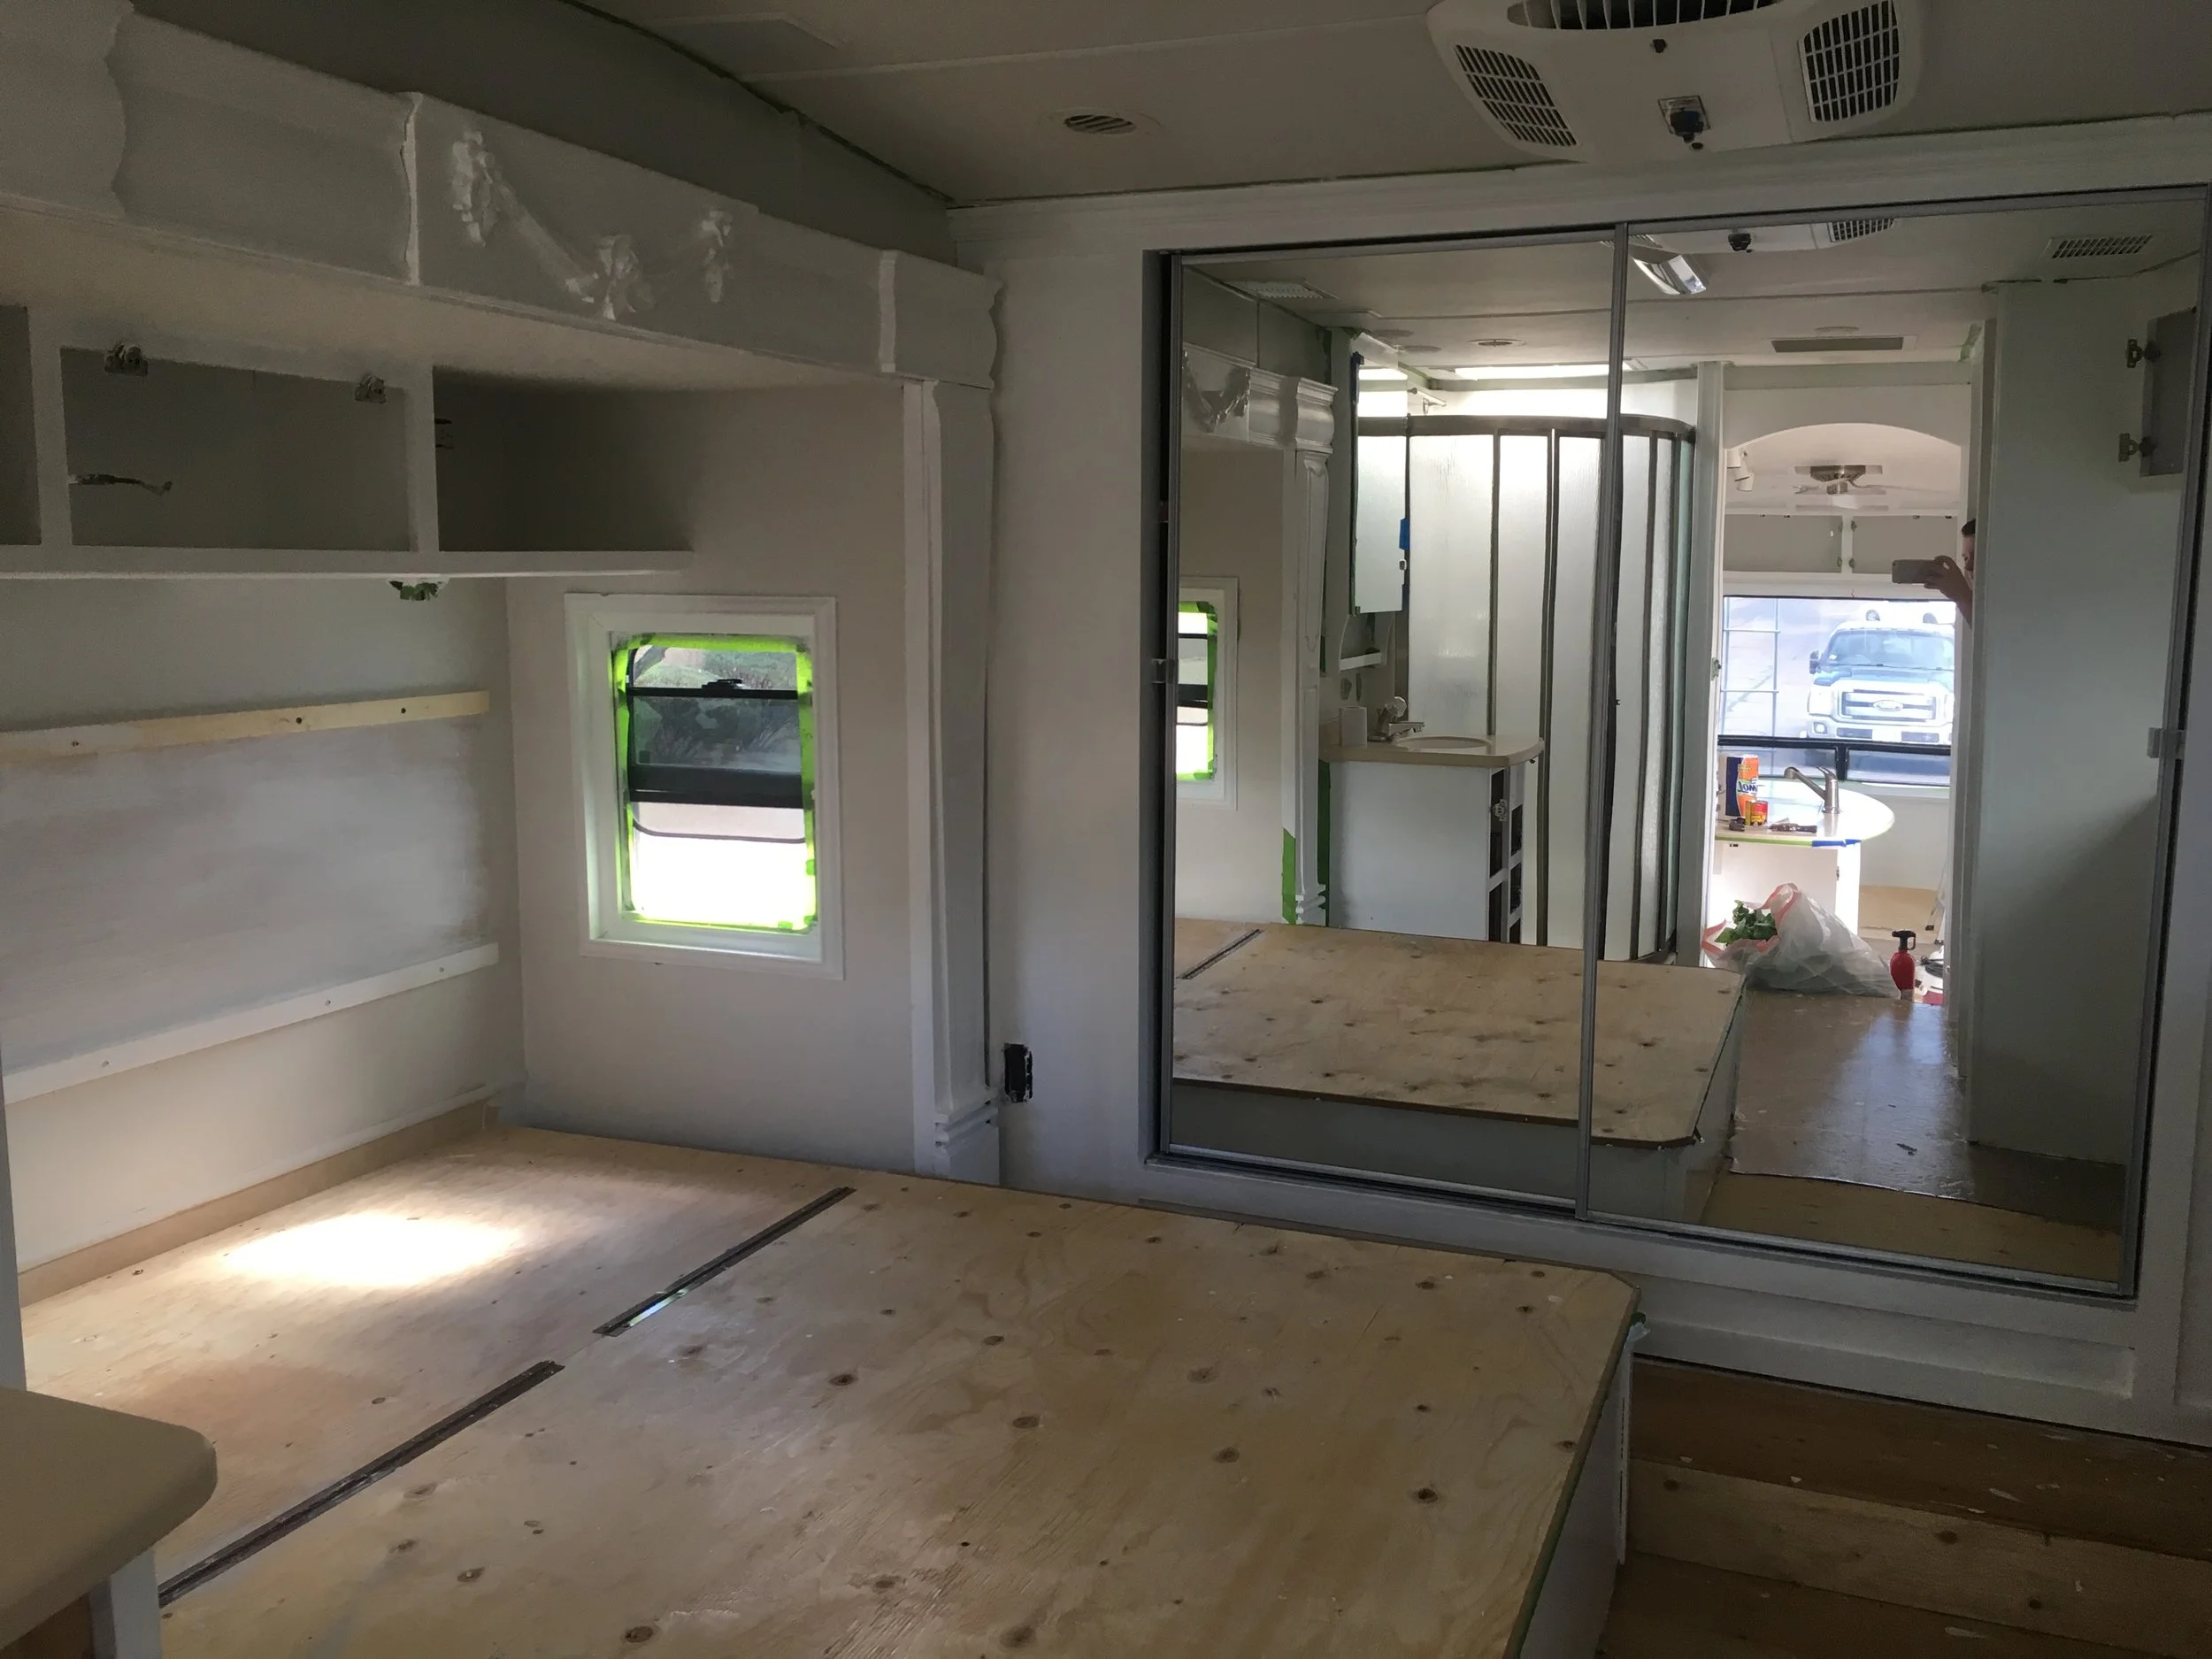
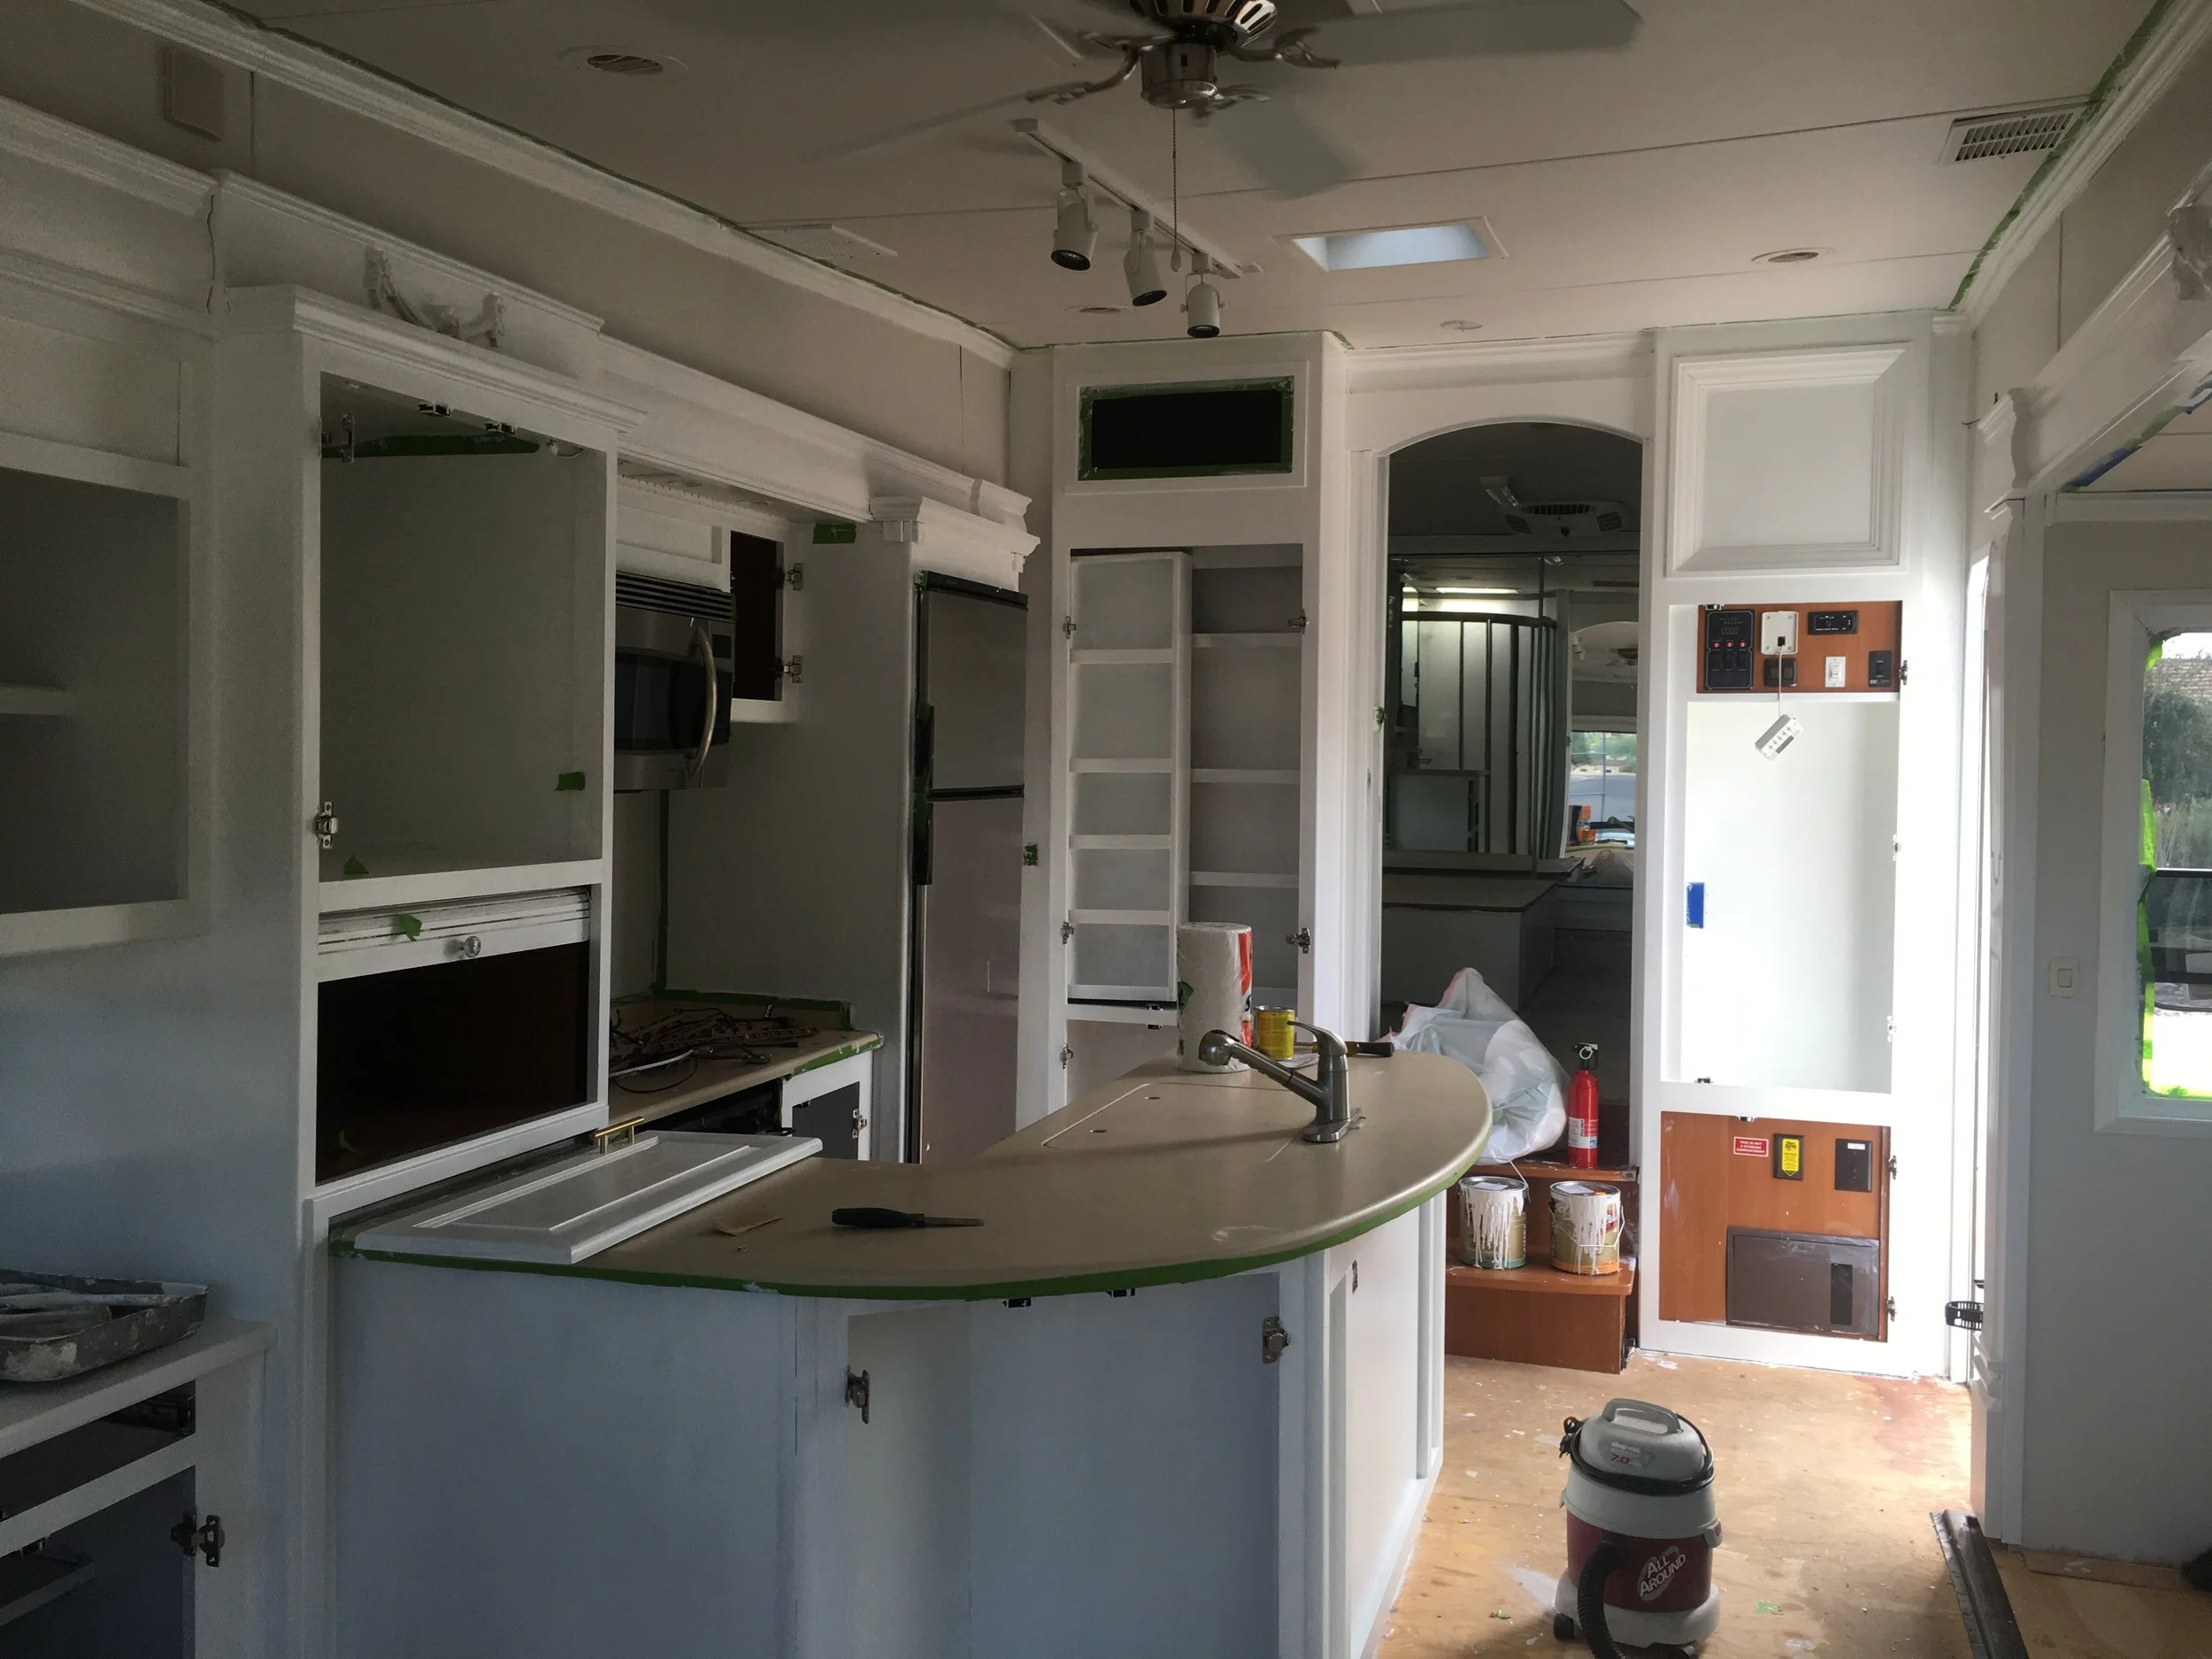
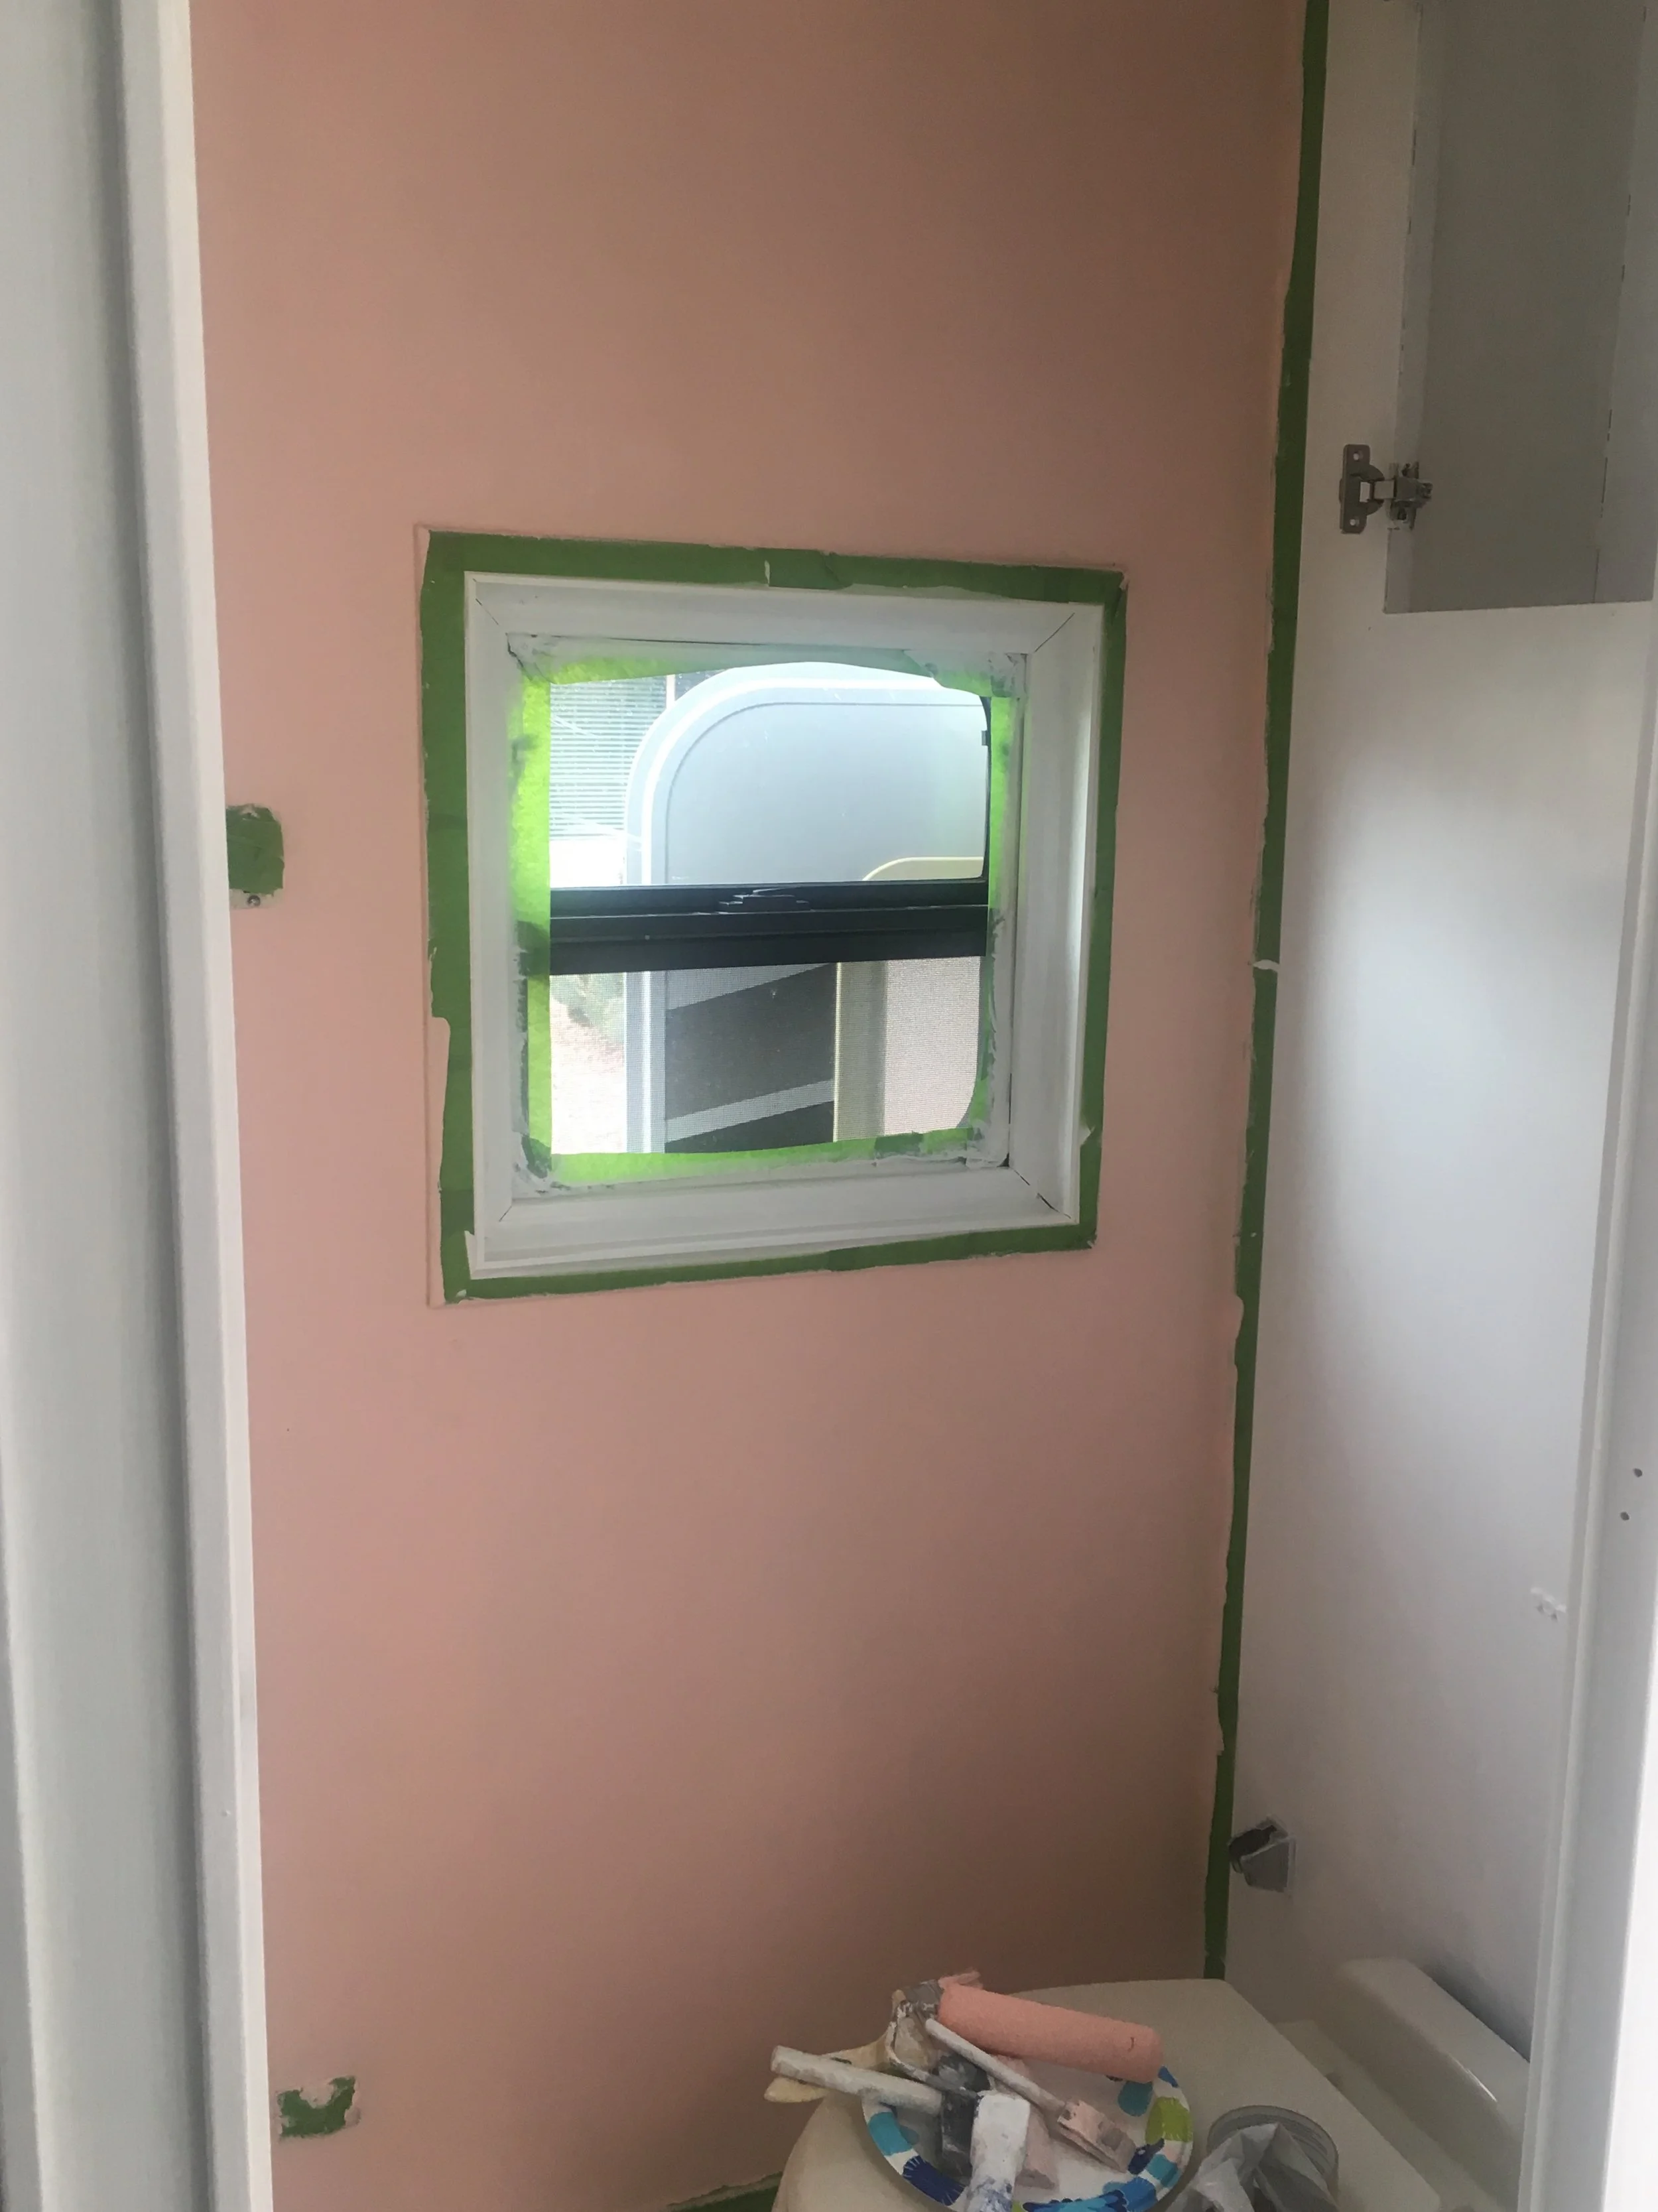
1. Re-painted every surface - walls, wood panels, cabinet doors and drawers. We went with a clean, semi-gloss white for all the wood surfaces, and a light and warm grey for the walls (because it's an RV, storage takes up many surfaces, so white is the predominant color). We added an accent wall in the bathroom that's a pinky-peach, and we recently (meaning: yesterday) changed up the bathroom sink area, repainting it as a dark grey to add some contrast.
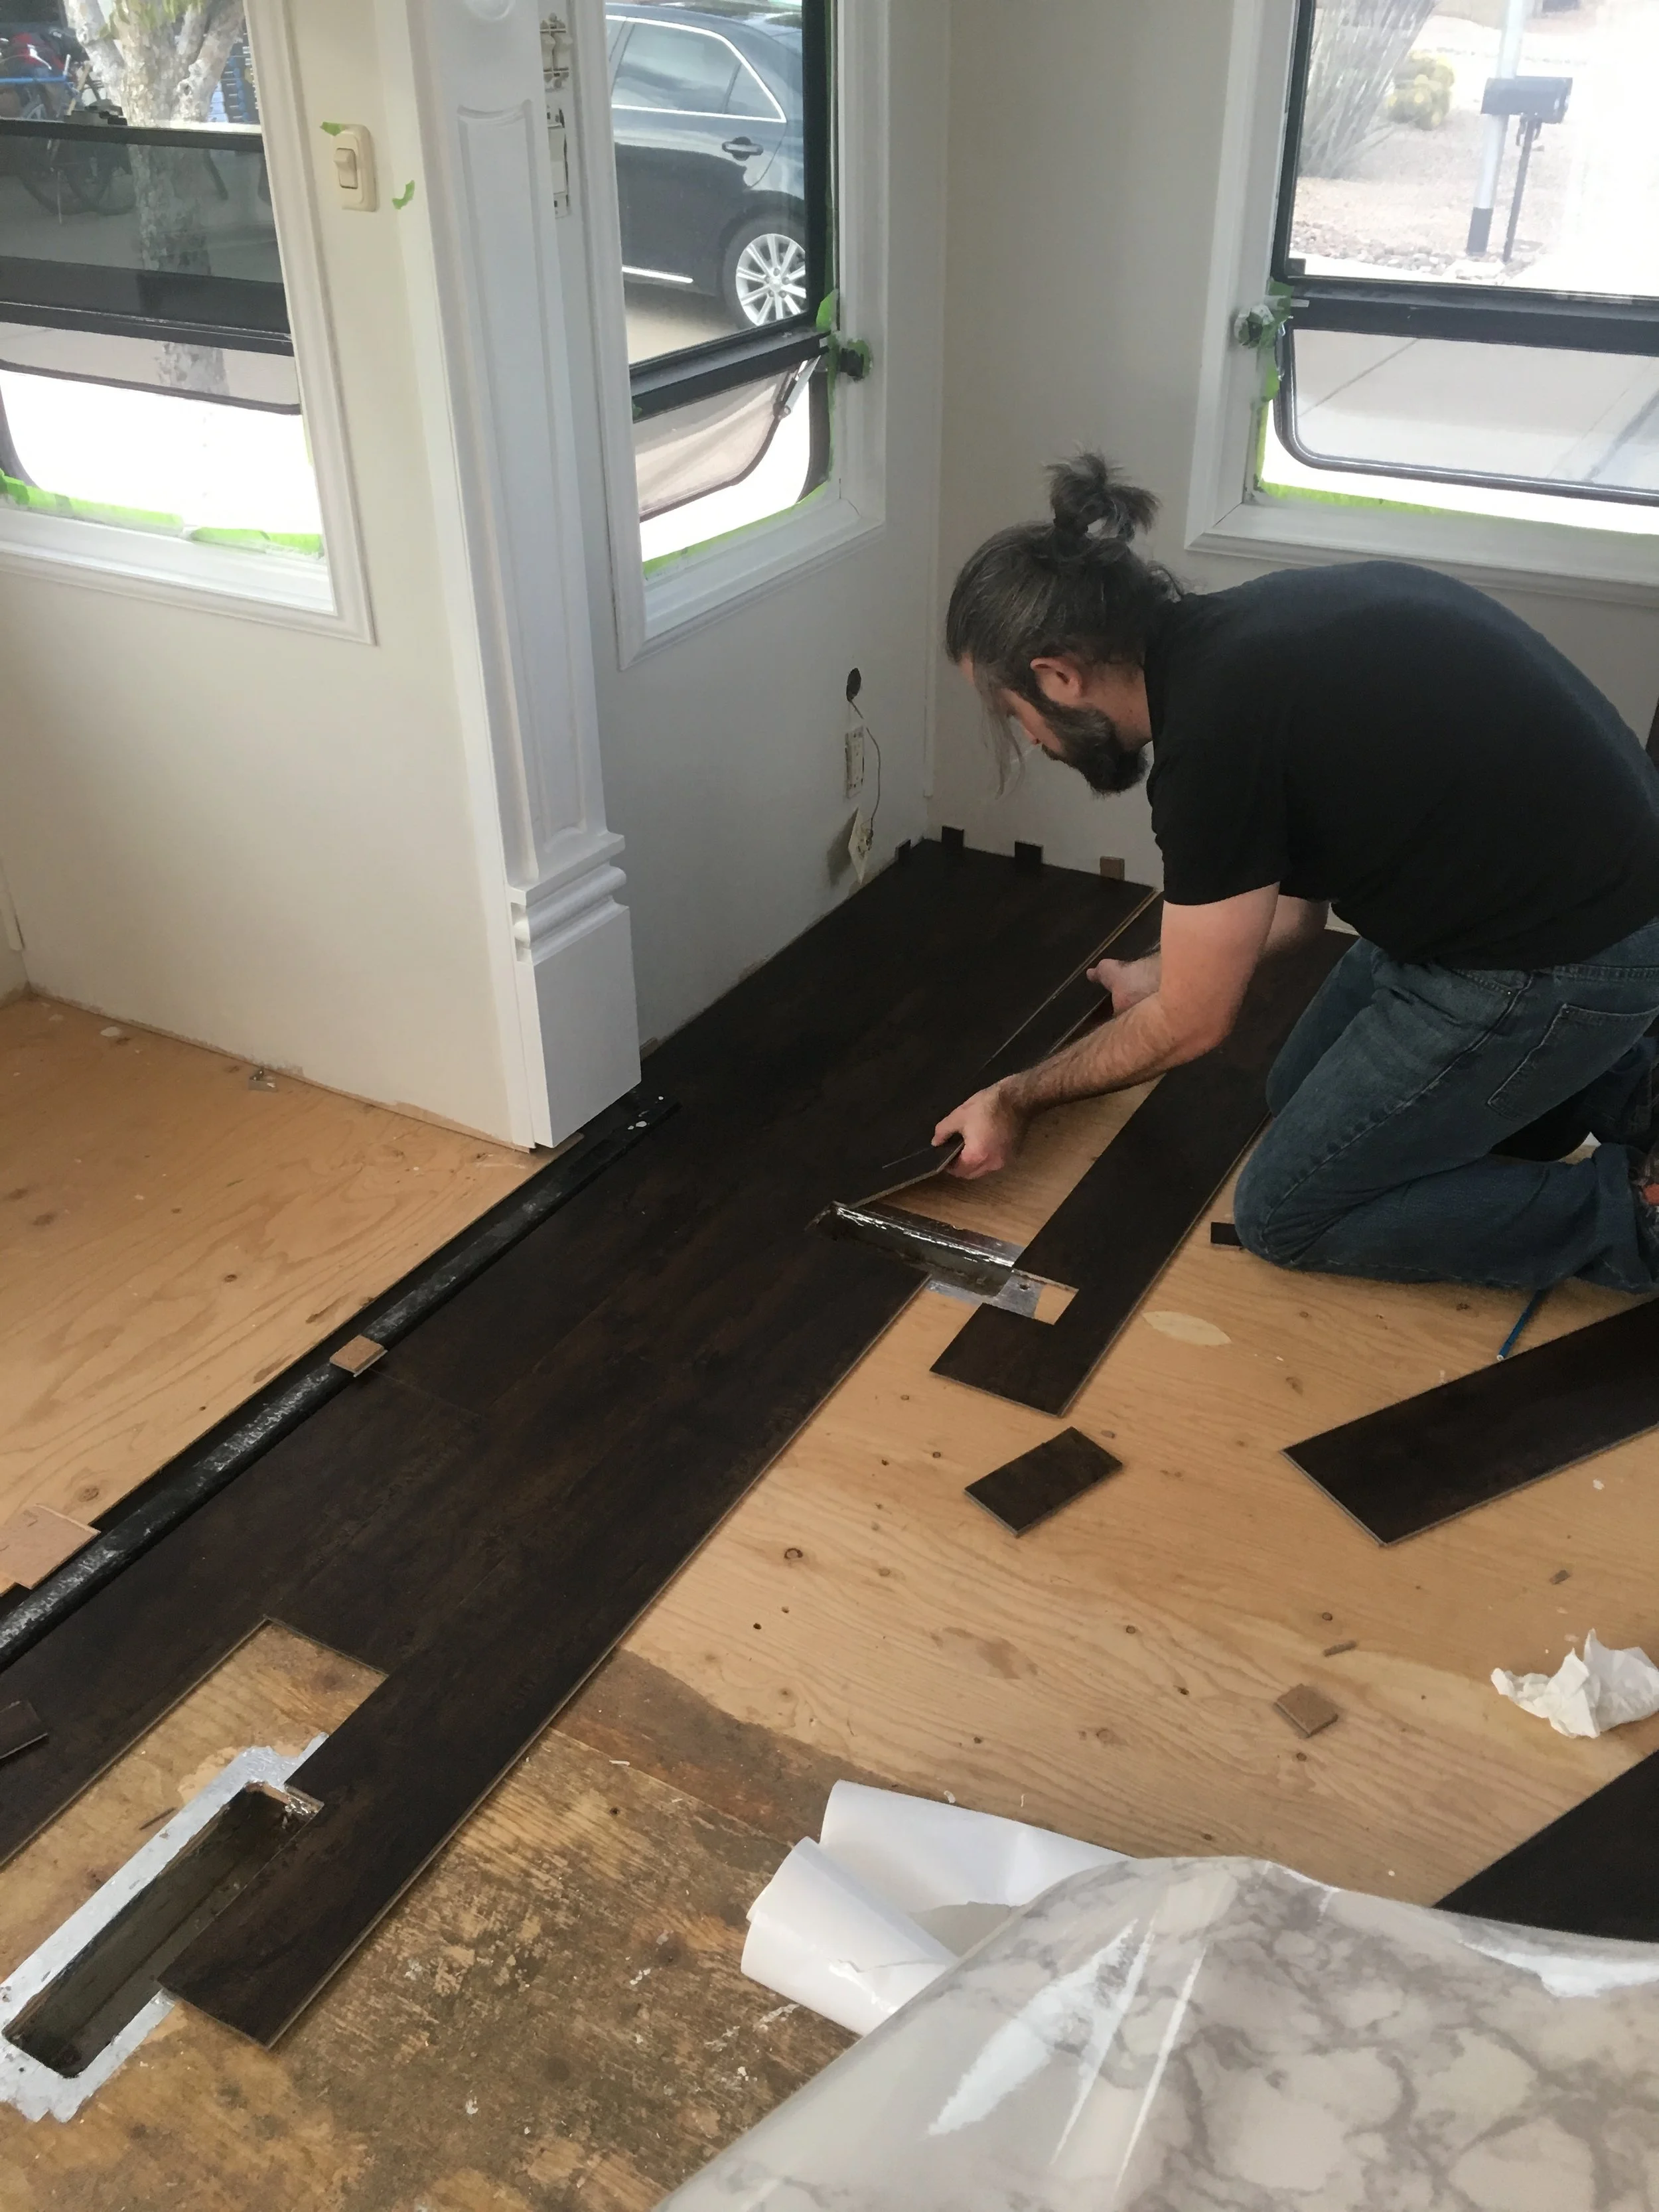
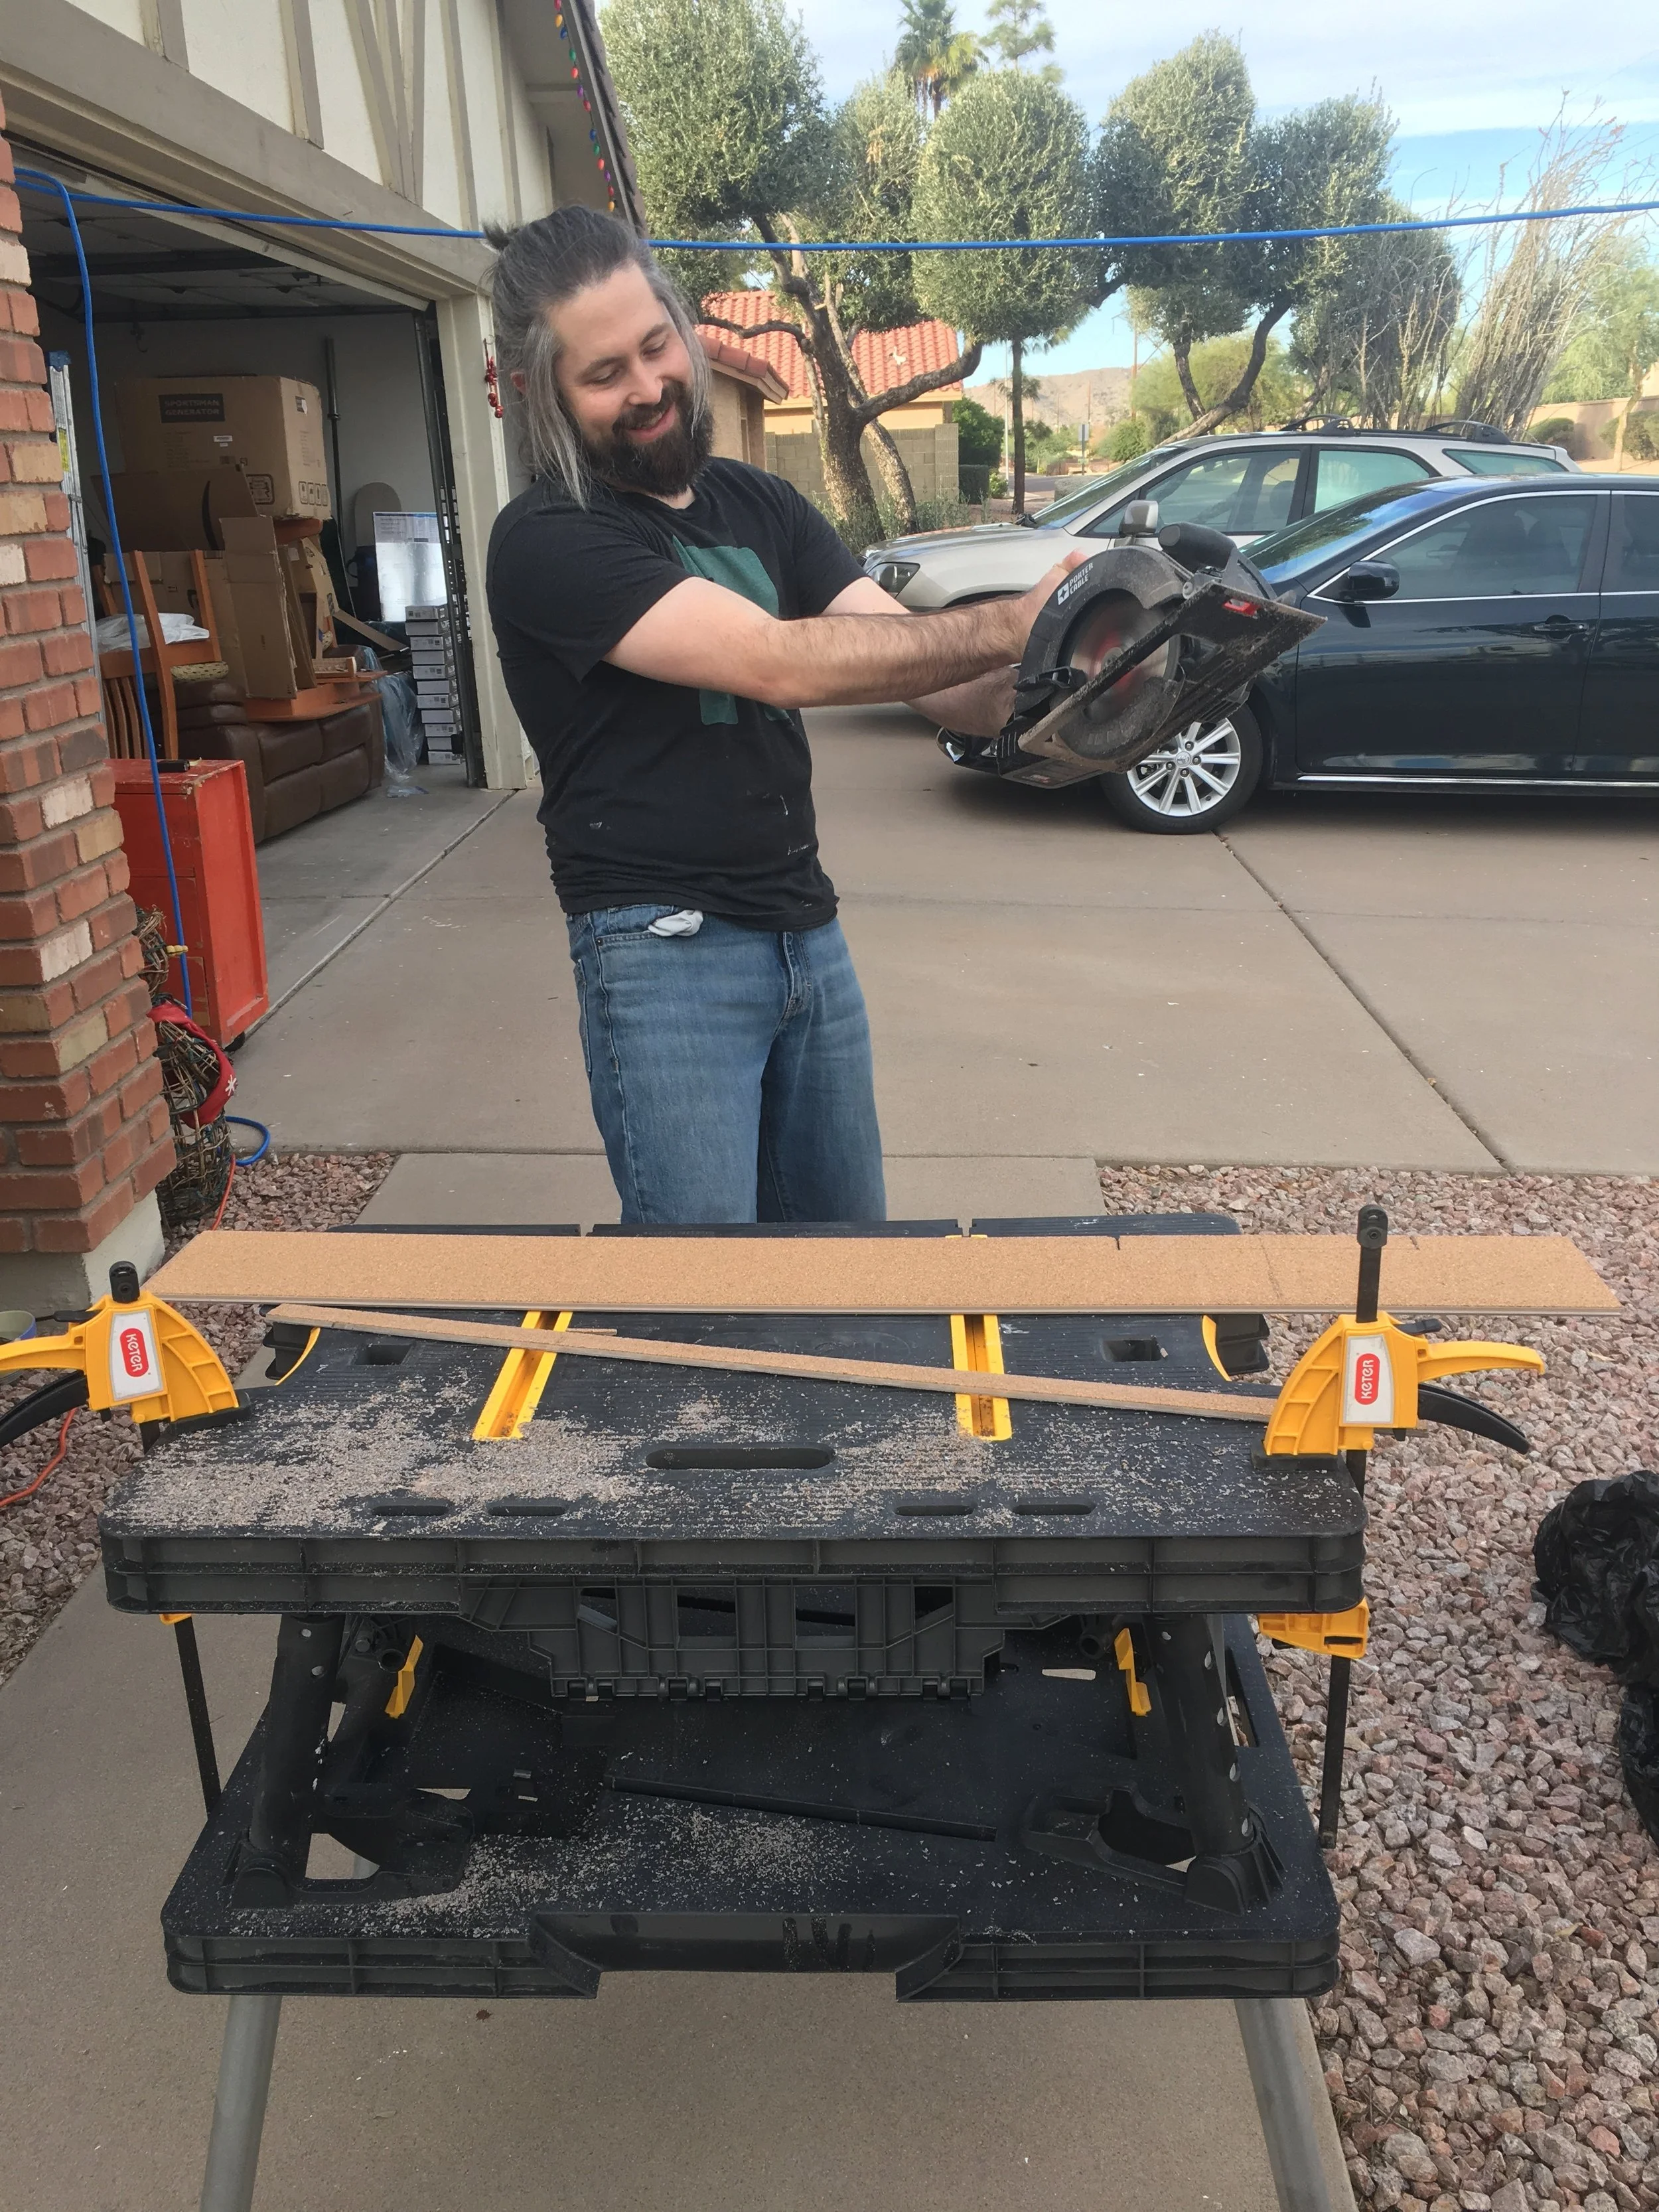
2. Ripped up the carpet and linoleum and replaced everything with dark wood flooring (luxury vinyl plank from Floor & Decor). Eventually we had to replace the flooring near the toilet due to a leak, and we went with a faux marble peel & stick tile for just the water closet area. Flooring could deserve its own full-length post as it was time-consuming and tricky - we had to figure out how to have a natural transition from the main living room area to the long slide-out where our couch goes... which is difficult because the slide... slides. And there was a lot of intricate measuring, cutting and sawing involved.
3. Added white marble contact paper to the original beige Corian kitchen countertops (this was a huge pain to install and took a few tries, but dramatically improves the modern look of the space). We had originally planned on using this for the bathroom counter as well, but we're going to use a plain white refinishing kit instead because there's no lip to the sink, and that's basically necessary for the contact paper to look good.
4. Installed a peel-and-stick subway tile backsplash behind the stove in the kitchen. This was relatively painless, took only a couple hours, and looks great.
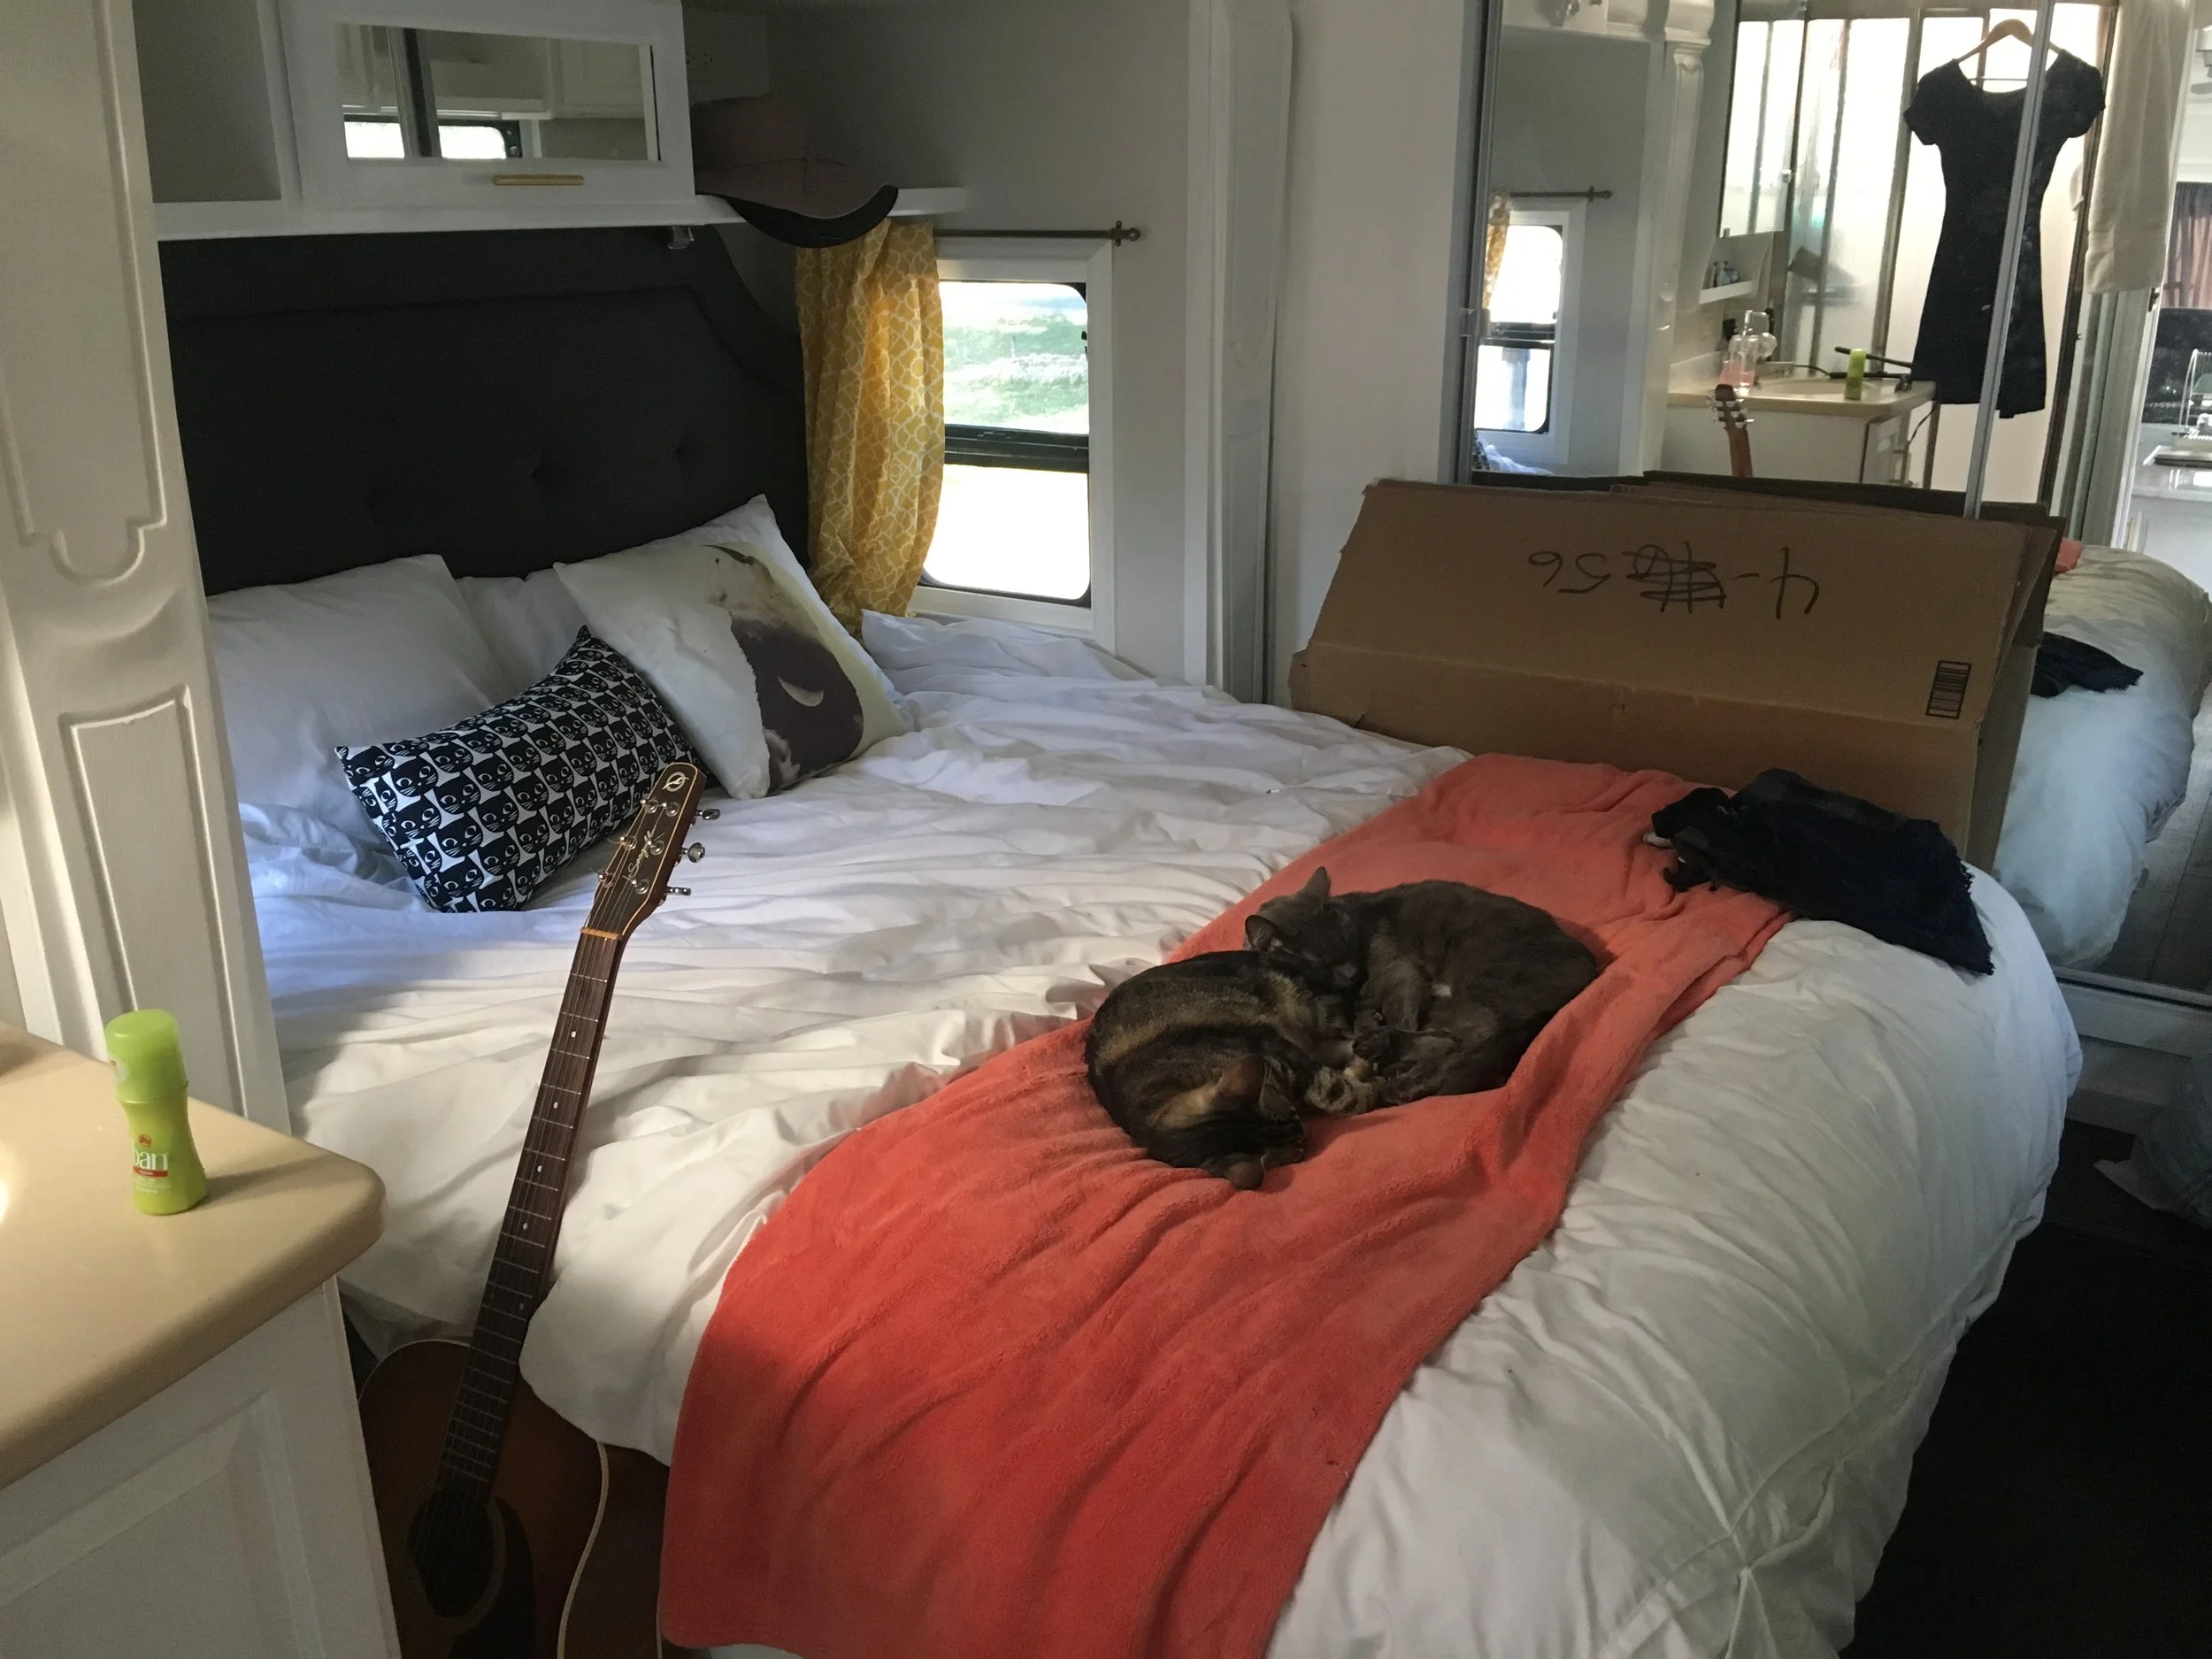
5. Ripped out all of the supremely hideous valences and day/night window shades, and replaced them with lightweight curtains (currently a dark grey in the main living area, with some light yellow curtains in the bedroom - though we may soon replace the grey curtains with something a little more colorful).
6. Replaced all the drawer and cabinet pulls with brushed brass/gold hardware.
7. Removed the dining table and original recliner and replaced it with our own couch (a Joybird Hughes loveseat in a deep teal to give the space some color). We typically eat meals sitting on our couch watching something on TV, so we decided to save space and not use a dining table at all. We do have a cool folding coffee table that we can stow away when we're not using it. Next to the couch we've installed our high-tech robot litter box from Litter Robot, which sits inside a custom cabinet they sell (which we painted white and peach).
8. Sold the original reclining loveseat (in a gaudy faux brown leather) that originally lived in the very back of the living room, and replaced it with our desk and office chairs. We currently use a simple 78" IKEA desktop and legs, with our workspaces separated by a small drawer unit (also IKEA). We're currently waiting on a shipment of some new sit-stand desks to replace this, since at the moment our desk solution is a little underwhelming and sitting is very bad for you.
9. Ripped out the crappy ~30" LCD TV and its swivel arm, and replaced it with a 100" pull-down projector screen (that we hang from iron plant hangers hooks we screwed into the crown molding around the slide out). The projector sits about 10 feet away in an overhead cabinet above the couch, and we hook it up to one of our computers via HDMI and output sound to the built-in sound system in the RV through a long stereo cable.
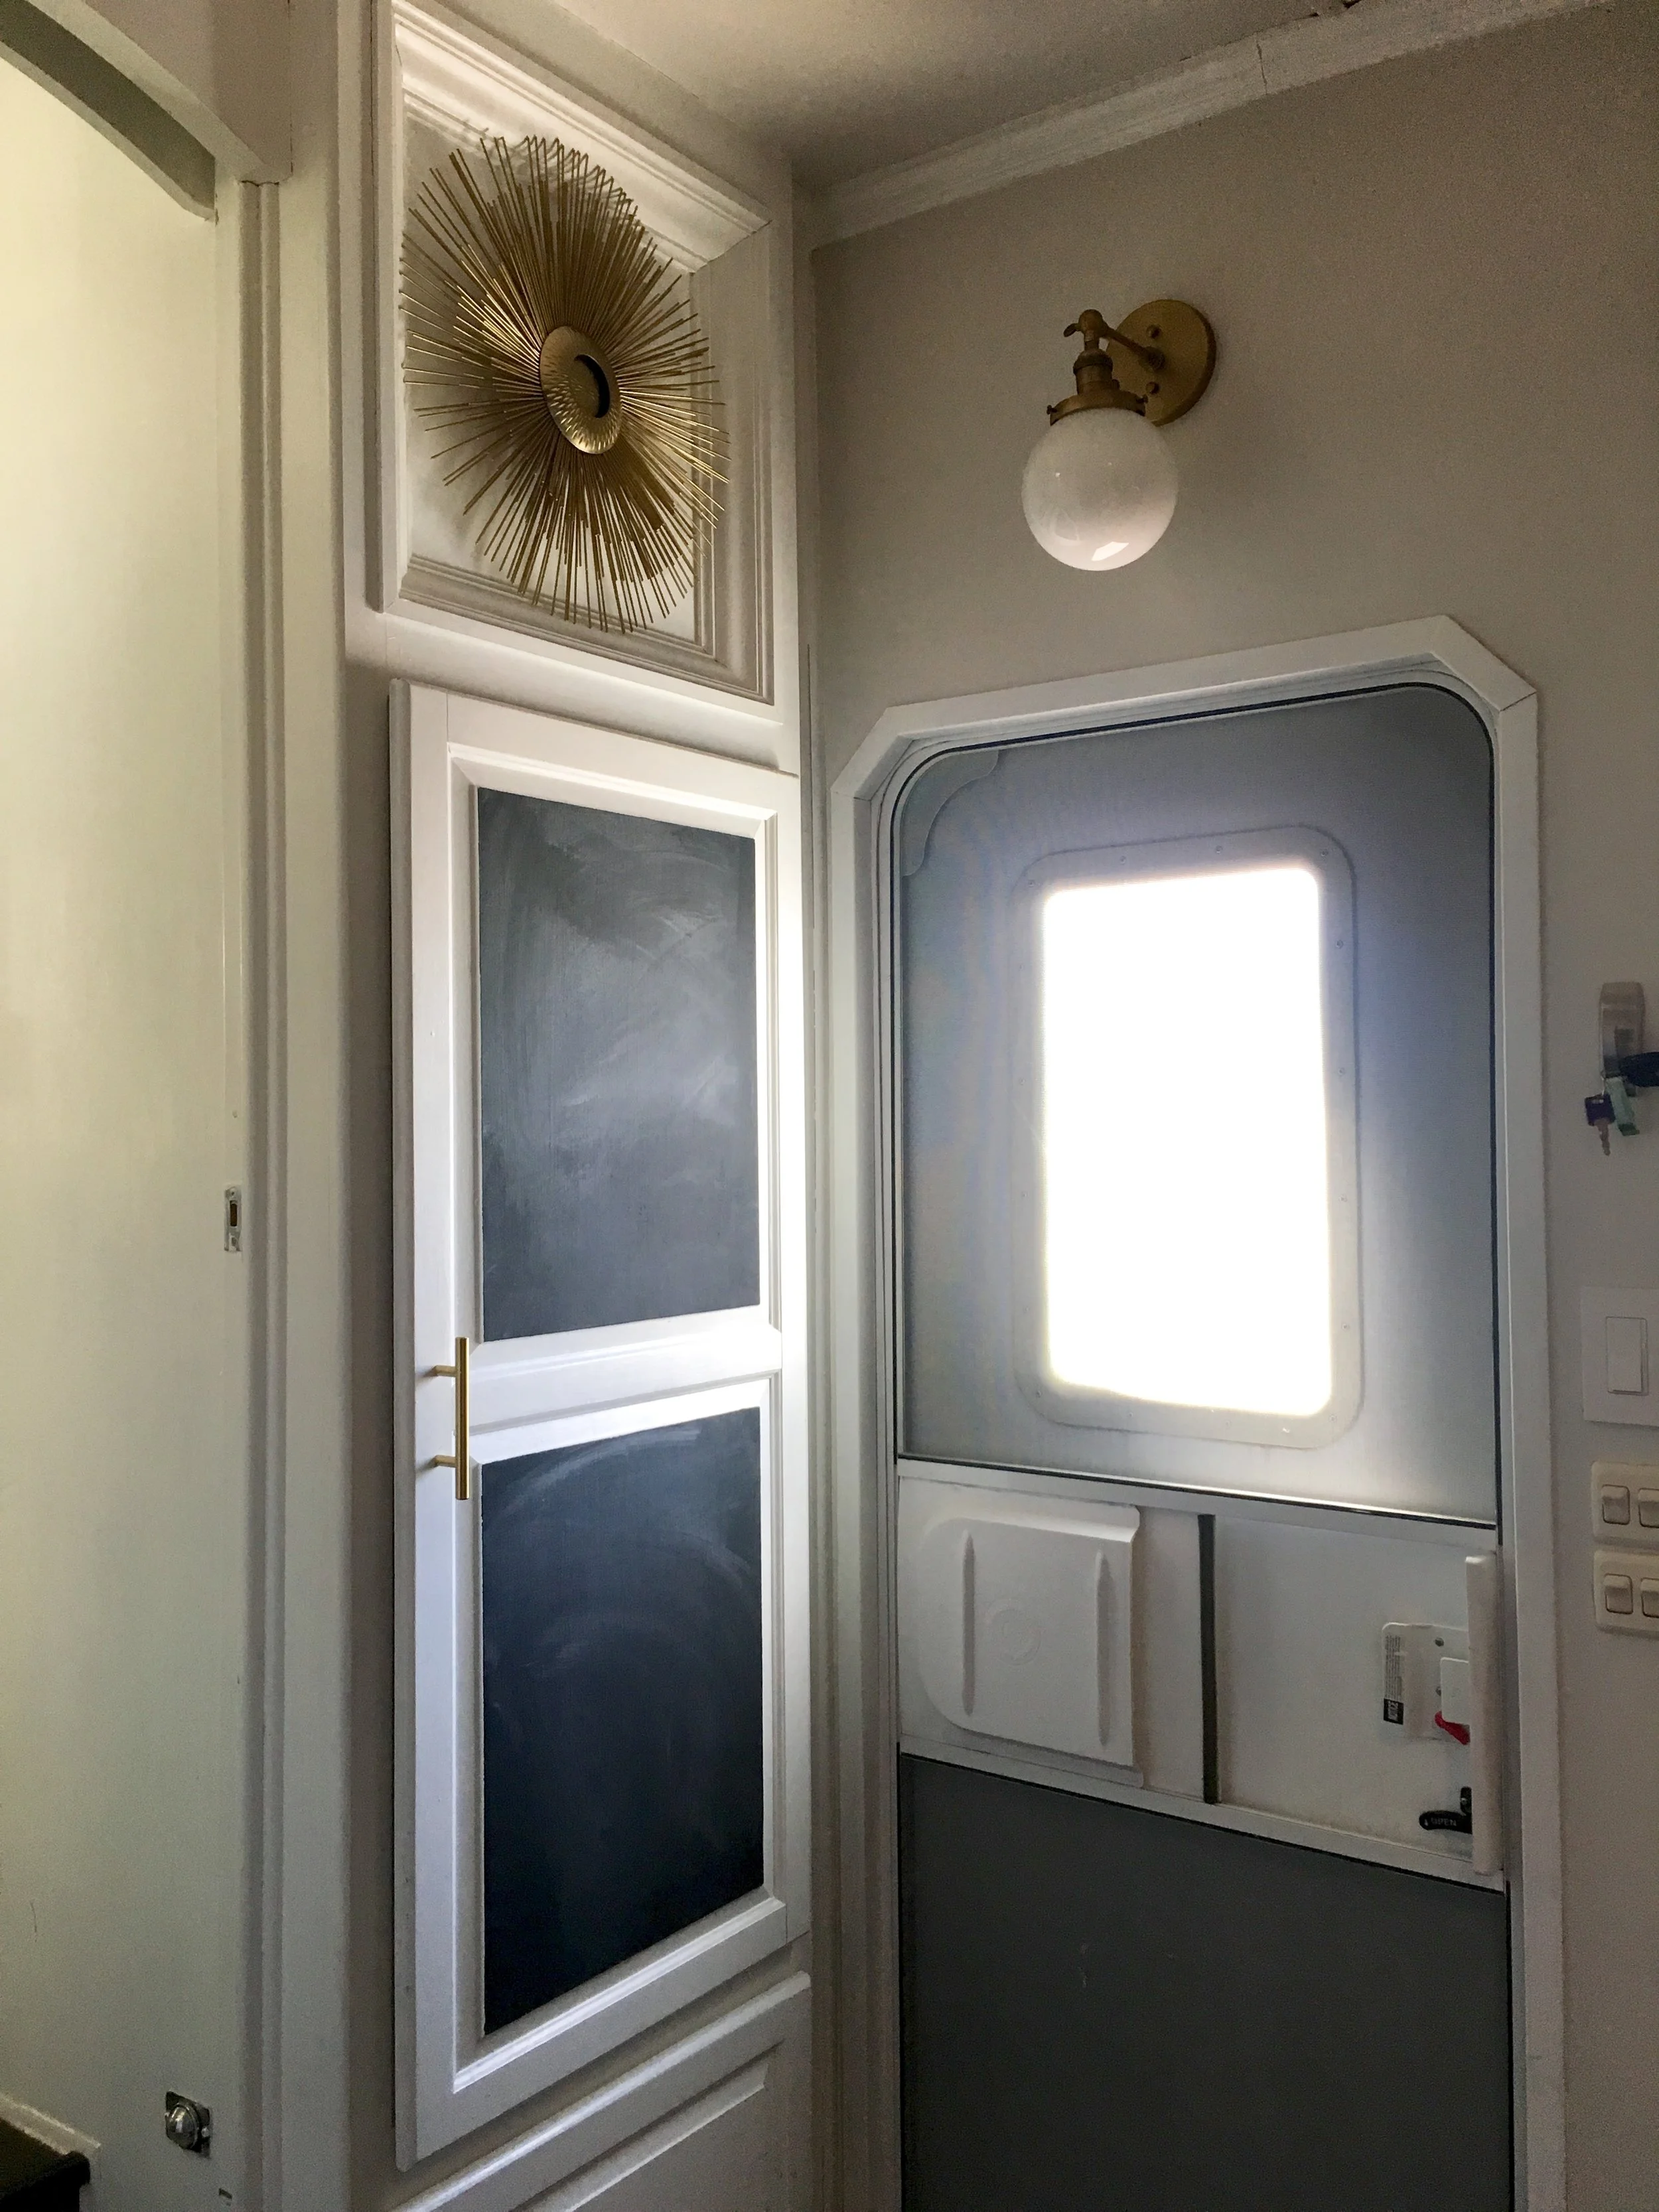
10. Replaced the ugly-ass original light fixtures and replaced them with mid-century-inspired brass wall sconces with white globes. Thank god.
11. Used blackboard paint to cover our biggest cabinet to use for grocery lists and daily to-dos. It's quite cute.


Our trailer wasn't in bad shape, despite it being ten years old; it was clearly well-cared for and had no obvious flaws on the inside. But this isn't just our weekend RV, or a temporary situation - we actually live in it. And I want to enjoy the house I live in, especially if it's on wheels.
It took about six weeks to get the majority of the work done. Had we known exactly what we were getting ourselves into we may have been able to shave two weeks off, but we went into this with little knowledge. I mean, we hadn't even seen the trailer in-person until we traveled to Tucson to pick it up. And we weren't able to find renovation tutorials on our particular model, so... What content was out there for remodeling RVs was decently helpful, but we had to make our own solutions most of the time.
There were a few times where I wondered if remodeling Free Real Estate was worth it. If we hadn't, we could've hit the road immediately, and I have this residual guilt about how I needed it to look different to be happy (I know this is some internalized misogyny bullshit about being "high maintenance," don't worry). But this ended up being the hardest manual labor of our lives and we learned so much as a result, and I would do it again if I could - especially having the knowledge of our pitfalls to guide me.